Are you experiencing sluggishness or frequent crashes on your computer? If so, several tips are provided to help optimize your Windows 10 system. The best part is that all these optimizations can be done using built-in settings within Microsoft’s operating system.
One of the essential tips is to adjust the applications that automatically start with your PC and manage the apps that run in the background. By fine-tuning these settings, you can streamline your computer’s performance. Disabling the Windows tips and tricks option can enhance your machine’s performance.
To delve deeper into each tip and learn how to configure them step by step, refer to the details below. By implementing these optimizations, you can significantly improve the overall performance of your computer.
1. Adjust visual settings
Changing the visual system settings can make your computer run more smoothly. Visual effects such as animations, fading, and drop shadows can be pleasing to the eye, but your computer’s processing will be used for these effects. You can increase processing performance by disabling some visual settings.
- To change your visual settings, go to the “System” page and then click on “Advanced system settings”;
- In the “Performance” category, click on “Settings”;
- Then you can change your VFX settings between a few options;
- Select “Adjust for best performance” to improve PC performance by disabling all visual effects or “Custom” to choose which visual settings you want to keep.
2. Virtual Memory
In advanced system settings, you can use your computer’s virtual memory to increase its performance by running programs. Check in the next lines how to manually manage the virtual memory usage settings:
- Back to the “Performance Options” window, access the “Advanced” tab and then click on “Change”;
- Then check the “Custom size” option to configure your computer’s memory usage;
3. Power Plans
Through the “Energy Plans”, you can increase the performance of your processor, adapting how it consumes energy. Here’s how to change and configure power plans in Windows 10:
- To do so, access the “Control Panel” and then click on the “Hardware and Sound” category;
- Then access “Power Options”;
- Finally, change the power mode to “High Performance” or another desired mode.
4. Disable Background Apps
Running too many simultaneous tasks on your computer can make it slow down and crash more often. But fortunately, in Windows 10, it is possible to manage which processes will run in the background, thus improving its processing capacity.
- Access the “Start” menu and search for “Background apps”;
- Once that’s done, you’ll be able to manage which apps will run in the background or not;
- It is also possible to disable the function for all apps. That way, your computer will dedicate processing exclusively to applications open in the foreground, except for essential system tasks.
5. Game Mode
If you are experiencing constant FPS drops in games, Windows 10 has a native platform feature capable of improving game performance. With active mode, Windows 10 prioritizes the game, dedicating CPU and GPU resources.
- To activate “Game Mode” in Windows 10, access the system settings, then open the “Games” category;
- Then you can activate the “Game Mode”, so that your computer recognizes your programs as games;
6. Disable startup apps
Is your computer starting slowly? In some instances, starting applications next to the system can greatly impact when turning on your computer. Such features like desktop and other functions will take longer to load. See how to manage which apps can launch along with your computer.
- Access the Windows 10 “Settings” menu;
- Then go to the “Applications” category;
- Finally, click on the “Startup” tab to enable or disable applications starting when you turn on your computer.
7. Enable Storage Sense
With active storage sense, your disk space will be free of temporary files. So, in addition to having more storage space, you won’t have performance problems caused by a lack of disk space.
- To activate the storage sensor, access the “Settings” menu;
- Then click on “System”;
- In the “Storage” tab, you can activate the “Storage Sense”;
8. Disable the “Windows Tips and Tricks” option
The “Windows Tips and Tricks” option provides feedback on using the system in the background while you browse your computer. However, this function also consumes RAM during analysis. If this function is not interesting for you, you can disable it.
- To find the “Windows Tips and Tricks” option, click on the “System” category under “Settings”;
- In the “Notifications and actions” tab in the left menu, you can disable the option “Get tips, tricks, and suggestions on how to use Windows”;
9. Windows Update
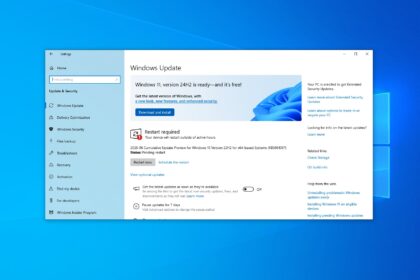
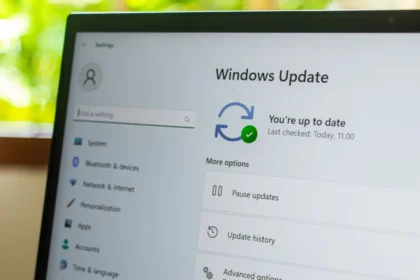
Updating your system is the best way to fix irregularities and enjoy the Windows 10 experience. As such, it’s important to ensure your updates are current.
- To do this, in “Settings,” open the category “Update and Security”;
- Then, in the “Windows Update” option, in the left menu, check if the Windows updates are up to date;
10. Disable Transparency Effects
Another way to improve Windows performance is to disable Transparency Effects. They are responsible for the color rendering and “Glass” effect on your desktop. However, this effect ends up consuming processing memory on your system.
- To disable the “Transparency Effect”, access the “Settings” tab through the “Start” menu;
- Access the “Personalization” category;
- Then, access the “Colors” tab in the left menu to activate or deactivate the “Transparency Effects”;
Ready! Now, you have a series of tips to optimize Windows 10 and make your PC faster and less susceptible to slowdowns and crashes.

