
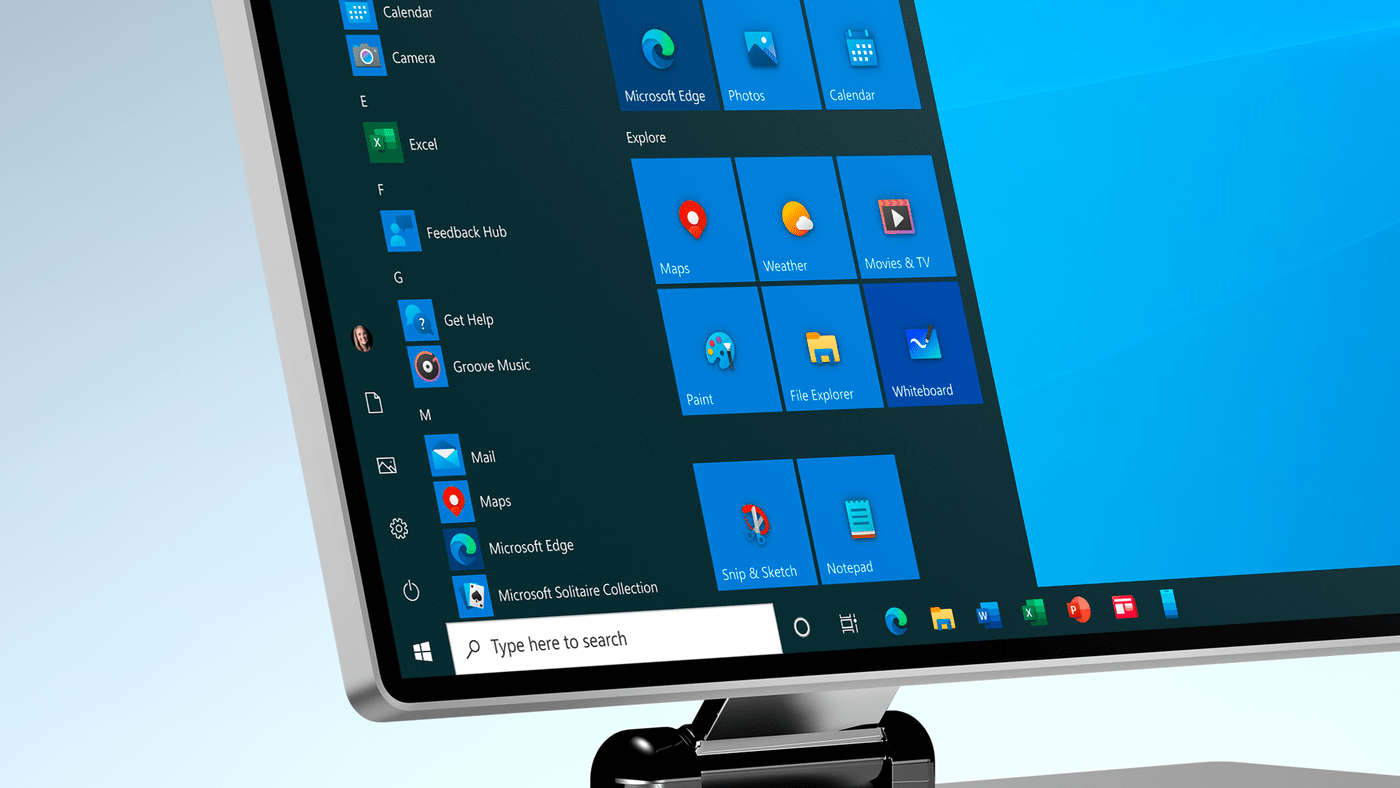
When you open the Windows 10 “Start” menu, you usually see the most used or recently added apps at the top. While it can be handy for quick access, you might not find it useful.
The good news is you can easily add or remove these apps. Go to the “Settings” tab of the Microsoft operating system and follow these simple steps!
How to Add or Remove Most Used Apps to the Windows 10 Start Menu
1. Open the Windows 10 “Start” menu and access the “Settings” tab. Another possibility is to use the shortcut “Windows + I.”
2. Then select the “Personalization” item.
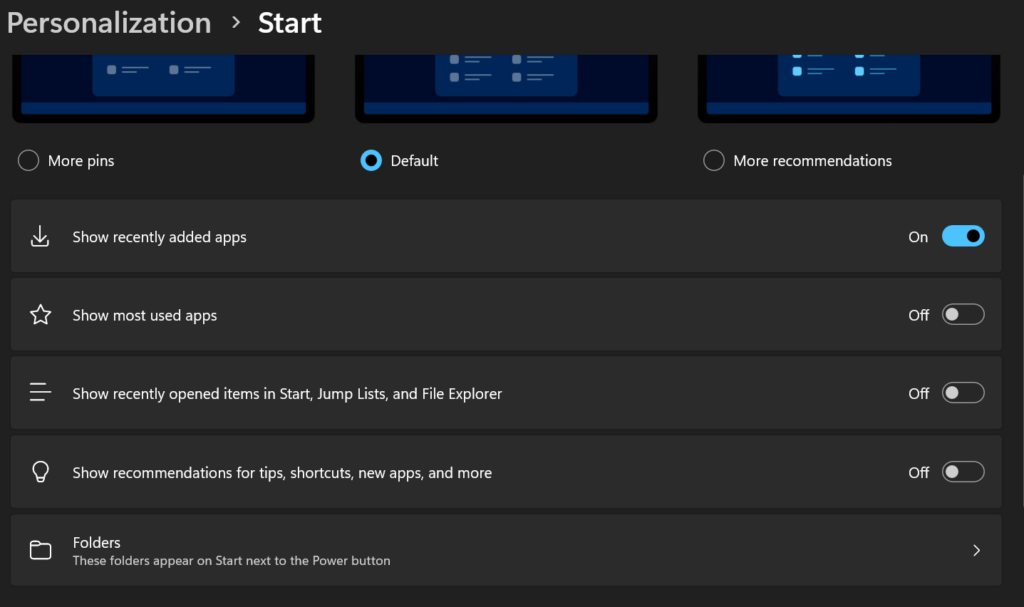
3. Select the “Start” tab on the left side menu.
4. Enable or disable the “Show most used apps” option once this is done. Use this tab to enable or disable the “Show Recently Added Apps” option.
5. This way, You can access or Remove the Apps You use most on your PC from the “Start” menu.
In conclusion, managing the display of the most used apps on your Windows 11 Start Menu is a straightforward process that allows you to tailor your menu to your preferences.
Whether you want quick access to frequently used programs or prefer a more personalized arrangement, the flexibility provided by Windows 11 allows you to add or remove these apps according to your needs easily.
By navigating to the “Settings” tab, you can effortlessly customize your Start Menu and optimize it for a more efficient and personalized computing experience.


