
RAM is one of the most essential parts of a computer, but it’s still surrounded by a lot of confusion. It handles fast communication with the processor and temporarily stores data from active applications. RAM has several important specs, like capacity, latency, frequency, and the number of communication channels.
Unlike CPUs or graphics cards, which tend to get more attention, many people aren’t quite sure how to find out the size, type, or speed of the RAM in their system.
With that in mind, AllTechNerd put together a list of some handy (and free) software tools, along with built-in Windows options, to help you easily check all the details about your desktop or laptop’s RAM.
1. Task Manager
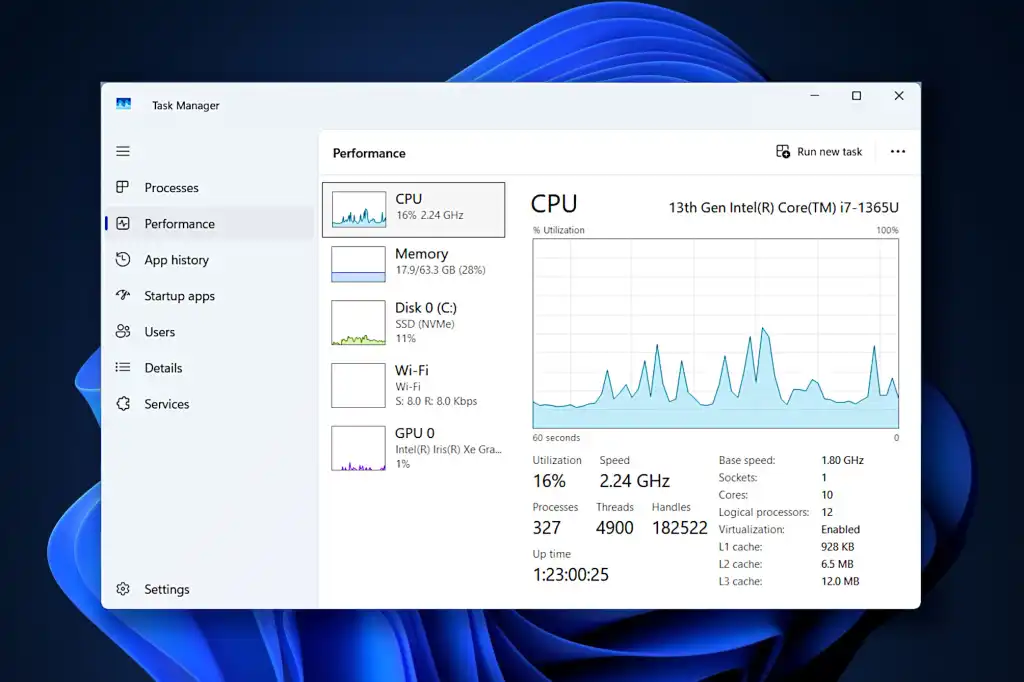
The easiest way to check your computer’s RAM details is through the Task Manager. You can open it quickly by pressing Ctrl + Shift + Esc, or by right-clicking the taskbar and selecting “Task Manager.”
Once it opens, you might see a compact view at first. Just click “More details” at the bottom of the window. Then, go to the “Performance” tab and select “Memory.”
Here, you’ll find a simple overview of your RAM, including total capacity, current usage, available memory, and a real-time usage graph. While this method doesn’t provide advanced specs, it’s a quick and easy way to see the basics at a glance.
2. Command Prompt
If you want to dig a little deeper—but still stay within the Windows environment—you can use the Command Prompt to view more detailed information about your RAM. While the Command Prompt might seem intimidating to less experienced users, there’s no need to worry.
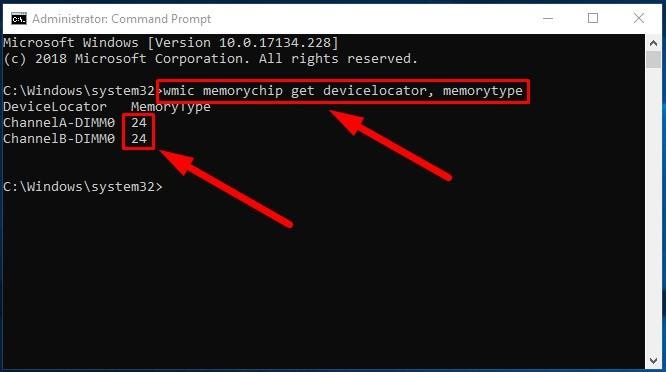
Just type “Command Prompt” into the Windows search bar, then click on the result. If a security prompt pops up, click “Yes.” Once the window opens, copy and paste the following command, then press Enter:
wmic memorychip get devicelocator, manufacturer, partnumber, serialnumber, capacity, speed, memorytype, formfactor
This will display technical details about your RAM, like the manufacturer, part number, speed, capacity, and more. Keep in mind, though, that not all data may show up correctly. For example, manufacturer details can sometimes be missing. For even deeper insights, third-party tools (like the ones mentioned next) offer a more complete picture.
3. CPU-Z
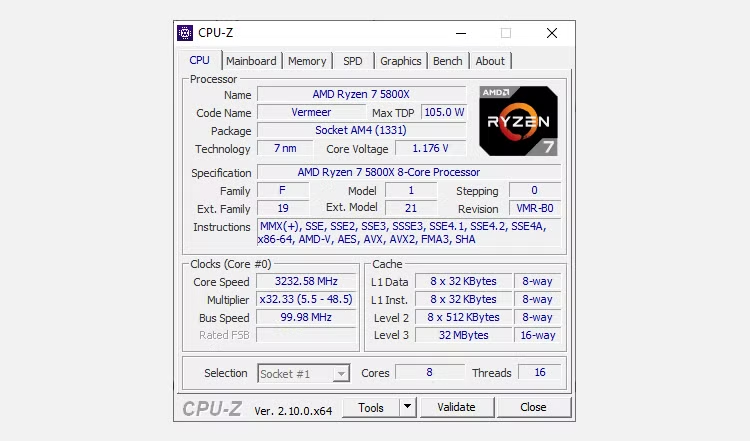
CPU-Z is one of the most popular and trusted tools for checking detailed information about your computer’s hardware. This free program gives you an in-depth look at your system’s RAM, processor, motherboard, and graphics card. It also includes a basic benchmarking tool to quickly test system stability and performance.
To get started, download CPU-Z from the official website, then install and open the application. By default, it opens to the CPU tab, showing detailed information about your processor. To view your RAM details, simply click the “Memory” tab at the top. Here, you’ll find key data like RAM type (DDR4, DDR5, etc.), total size, channel configuration (single or dual), operating frequency, and latency timings.
For even more advanced details, switch to the “SPD” tab. This section breaks down specifics by memory slot, such as module manufacturer, part number, supported frequencies, and more.
It even shows lesser-known technical info, like memory ranks and whether any Intel XMP profiles are enabled—handy if you’re into overclocking or optimizing performance.
4. AIDA64
Another well-known name in the hardware world is AIDA64—a powerful and feature-rich tool used for a variety of system diagnostics.
With AIDA64, users can not only view detailed information about every component in their PC, but also monitor hardware in real time and run demanding benchmarks for both the CPU and GPU.
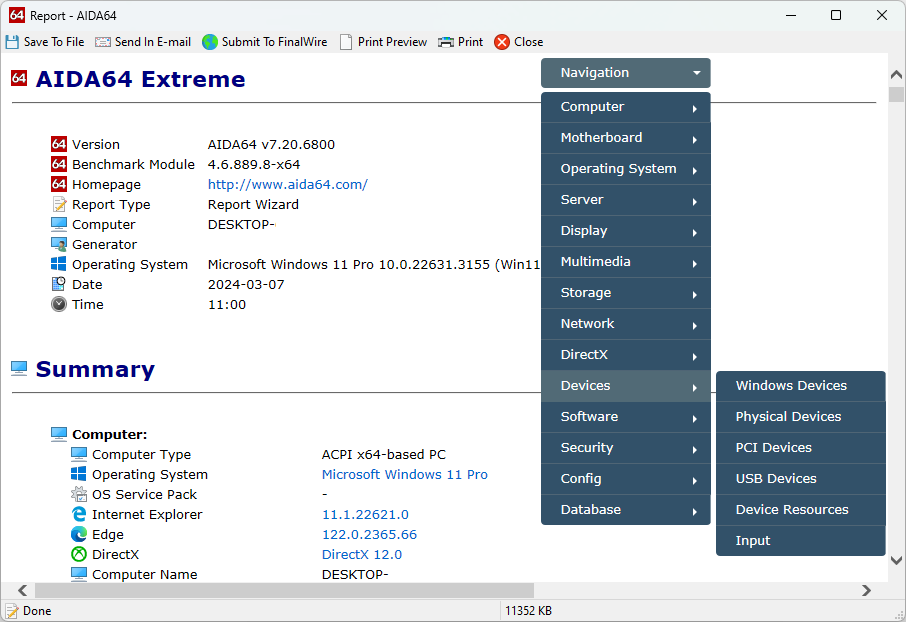
To get started, download AIDA64 from the official website, then install and open the application. While it’s a paid tool, it does offer a free 30-day trial so you can explore its full capabilities. Once launched and updated, look to the left-hand menu and click on “Motherboard,” then select “Memory.” This section displays key info about your RAM, such as total capacity, current usage, and how much is still available.
For those who want to dive even deeper, click on the “SPD” option to view advanced technical specs about your memory modules. AIDA64 provides highly detailed data, which can be especially useful for enthusiasts and professionals.
Additionally, at the top of the interface, you’ll see an icon representing different components. Clicking on the RAM icon allows you to run a benchmark specifically for your memory, helping you evaluate its performance.
5. Passark Rammon
Last but not least, there’s PassMark RAMMon—a powerful and highly detailed tool for exploring everything about your PC’s RAM. While it’s not as well-known as some other options, it’s completely free and arguably one of the most thorough when it comes to displaying memory specs.
To use it, head to the official PassMark website, download RAMMon, and complete the installation. Once you launch the program, it immediately loads a full breakdown of all installed RAM modules, with no extra steps needed.
Similar to CPU-Z, RAMMon focuses entirely on providing information—it doesn’t include benchmarking features. But it shines when it comes to depth. It’s perfect for tech enthusiasts who need very specific data for tasks like manual overclocking, troubleshooting, or verifying performance details.


