

When it comes to Photos and Selfies, Snapchat App has a variety of tools that do everything. With the multiple Face filters available in the application, you can transform your face into someone else’s and animals like monsters or simple art like writing. One of the most popular tools is geofilter, which any Snapchat user can use.
When you take a photo or record a video, you can swipe left or right and choose the filter you like best. One always appears according to your neighborhood, city, state, or country location.
But what about when you want to share your location with friends, and this filter doesn’t appear, or you don’t like it? Know that you can create your geofilter with various colors, shapes, and images just the way you want. For this, you must follow the following steps:
Create your Geofilter on Snapchat
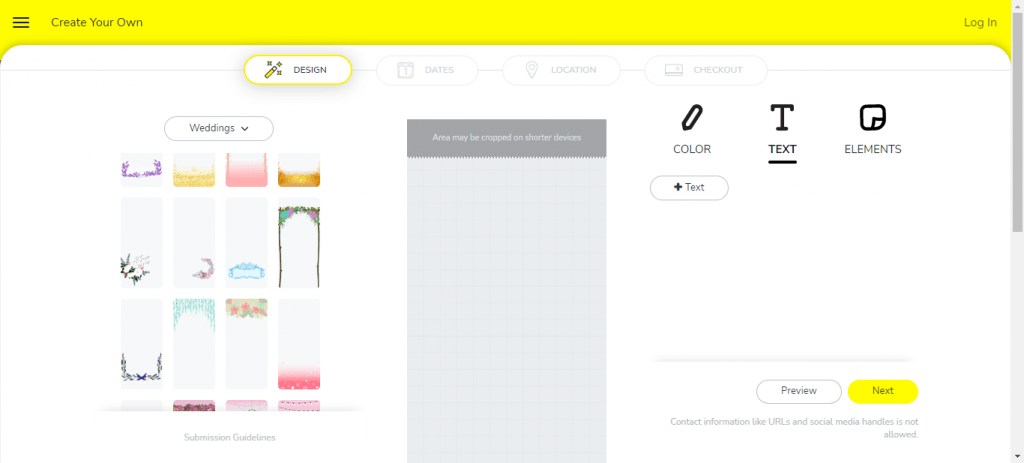
1. On your computer, use any image editor like PhotoShop to create an image of 1920 x 1080 pixels with a transparent background in PNG format and less than 300 KB. Also, you need to leave a space of 140 pixels at the top and bottom of the image.
- You may not use logos and artwork from other people or brands.
2. Go to this Snapchat website, click “upload an image,” and select the artwork you created.
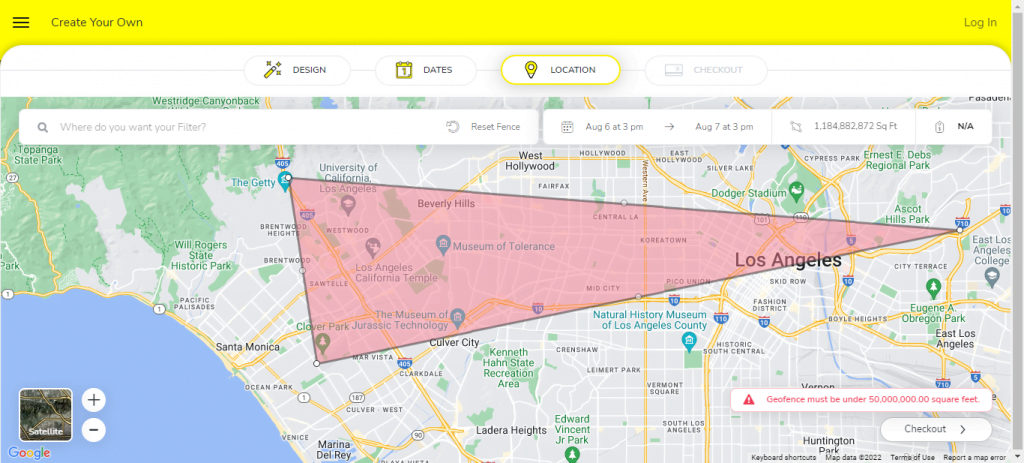
3. Click on the map and connect the dots in the areas you want to associate with your geographic filter. You can make triangles, squares, rectangles, etc.
4. Put your full name, email, why this location is essential to you, and an additional note or comment below.
5. Check the three boxes, the option “I am not a robot,” and click “Submit.”
6. Ready, your geofilter is created! However, that doesn’t mean it’s already active to use in the locations you’ve marked. The Snapchat team will evaluate your image and verify that it does not violate the company’s rules, among other things. If everything is okay, it will be released within a few days.
Even so, if you don’t receive any notification emails about your filter, it’s not worth doing it again to have it activated “quickly,” as the time for the review process is the same. To create a new geofilter, click “Send more!” and perform the entire procedure again.
https://youtu.be/_1LAfzcAwno
Remember that it is impossible to create other types of filters, such as those mentioned at the beginning of the text, and that all these steps can only be done through a computer.


