
Windows 11 isn’t just a pretty new look for Microsoft’s operating system – it also packs in a bunch of handy improvements and features aimed at making it more accessible for all users. One standout addition is the live captions functionality, which could easily be one of the best accessibility tricks in Windows.
Live captions are ideal for people with hearing difficulties, providing real-time transcription of audio right on the screen. But even if you don’t have hearing issues, this feature can still be super useful for easily following along with audio or video content with automatic subtitles.
Despite its obvious benefits, live captions are actually disabled by default in Windows 11. But enabling them is a breeze, and we’ll walk you through the quick steps to get this handy accessibility feature up and running on your PC.
What are live Captions in Windows 11?
If you’re not familiar, the live subtitle feature, called “Live Caption,” basically turns spoken words into text on your screen. It’s super handy for folks who are hard of hearing or just need text for what’s being said.
But here’s the catch: even though it’s a really helpful feature, it’s turned off by default. Let’s walk you through how to turn it on.
How do you use live subtitles on Windows 11?
Enabling live subtitles in Windows 11 is pretty straightforward and won’t take much time. Just follow these steps to make sure everything goes smoothly:
- Press the WINDOWS key and the letter I at the same time to open Settings.
- In Settings, look for Accessibility on the left-hand side and click on it.
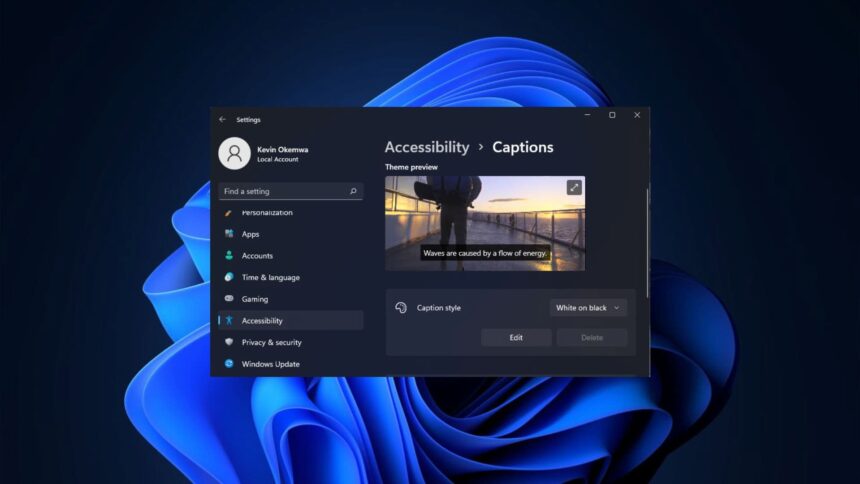
- Next, navigate below to Hearing and then click on Captions.
- Click on Edit to customize various aspects like text position and style.
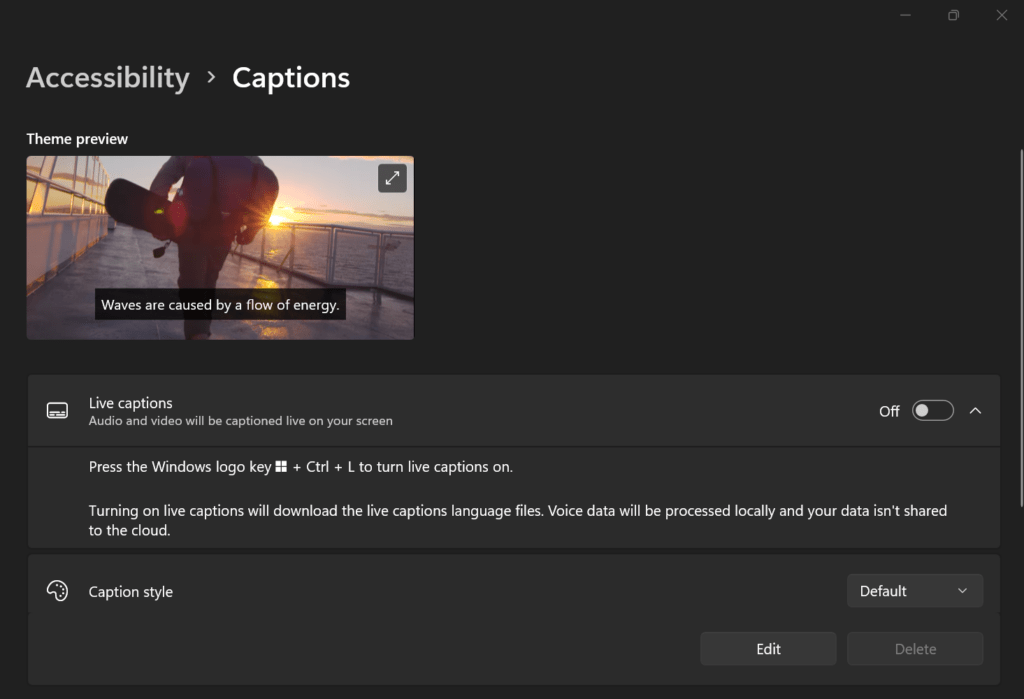
- Once you’ve set up the live subtitles the way you want, it’s time to turn on the feature.
- Press the keyboard shortcut WINDOWS + Ctrl + L.
- The first time you do this, you’ll need to accept the displayed text to activate the feature.
- If you don’t have this feature installed for some reason, Windows will prompt you to download it directly.


