
Let’s talk about Apple AirTag. It’s like a handy tool that helps you keep track of things like your bike, wallet, or other stuff. When you set it up, you give it a name that matches the item you’re attaching it to.
But what if you want to change it later? No worries! We’ve got a tutorial for you that shows how to rename and switch your AirTag to a different thing. It’s pretty easy, so let’s dive in!
How to Rename Your AirTag on iPhone
Add a name to the device during pairing
When you connect your AirTag to your iPhone, it will ask you to give it a name. This is like telling the AirTag what thing you’re going to attach it to. If you’re not sure yet, that’s okay! You can pick any option for now. Later, we’ll learn how to change the name if you want to.
Go into your AirTag settings
Open the Find My app on your iPhone. At the bottom of the screen, you’ll see a menu. Tap on “Items.” In the list of things you have, find your AirTag’s name and tap on it.
This will open a window with more choices. A button at the bottom of this window says “Rename Item.” Click on that.
Change the name of your AirTag
Take a look at all the choices available, like keychains, backpacks, cameras, and others. When you pick a new name for your AirTag, you’ll see that an emoji will show up automatically with that name.
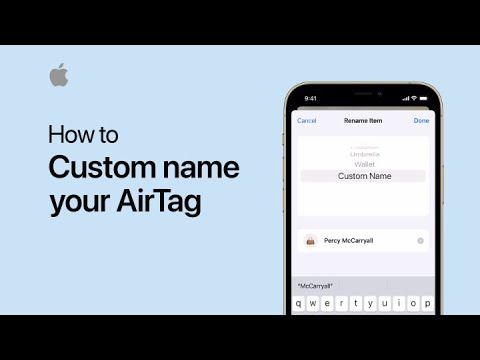
Customize your AirTag name
If the thing you want to attach the AirTag to isn’t listed, don’t worry. You can scroll through all the choices and pick “Custom Name.”
This lets you type in the exact name you prefer and even choose an emoji that fits well with the new name of your AirTag. So, if you can’t find your item on the list, you can still give it a special name and emoji of your choice.


