
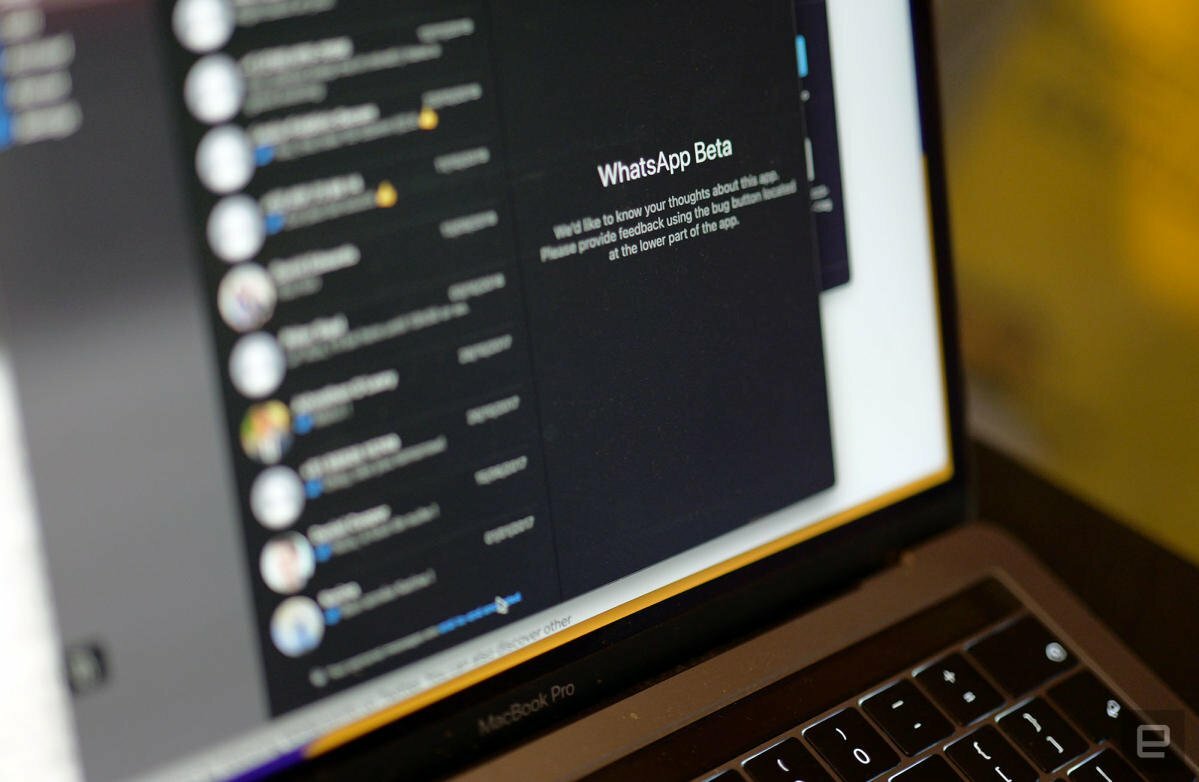
WhatsApp, known for its smartphone app, offers the convenience of synchronization across different platforms, enabling users to access it seamlessly. On Mac, the desktop version of WhatsApp goes beyond text and voice messages—it also allows easy voice and video calling.
By default, WhatsApp Desktop on Mac utilizes the computer’s hardware, utilizing the iSight camera and built-in microphone for calls. However, you’ll need to adjust the settings during the call if you prefer to use an external accessory like a webcam or desktop microphone connected to your macOS.
It’s important to note that this configuration is specific to the Desktop version of WhatsApp for Mac, which can be freely downloaded from the App Store. WhatsApp Web, accessed through a web browser, does not support video and voice calling.
To assist you in making the necessary changes, we’ve prepared a step-by-step guide on modifying the default microphone and webcam settings in WhatsApp on Mac. Follow the instructions to ensure a smooth and personalized calling experience.
Changing WhatsApp Desktop Microphone and Webcam
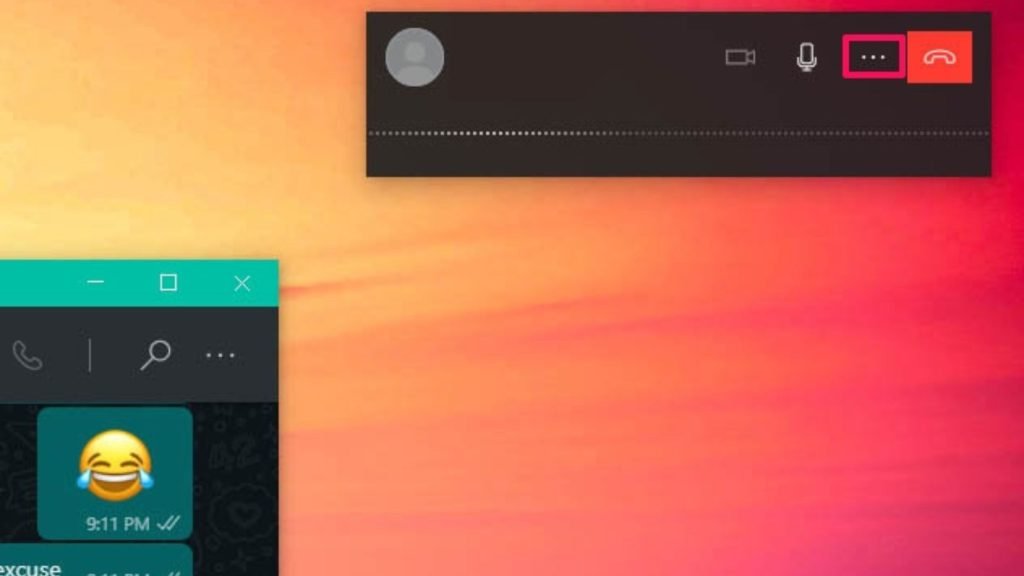
1. Open the WhatsApp Desktop app on Mac. Then start a video or voice call with another user.
2. Note the Window that will appear in the upper corner of the screen. In it, tap the button represented by three dots.
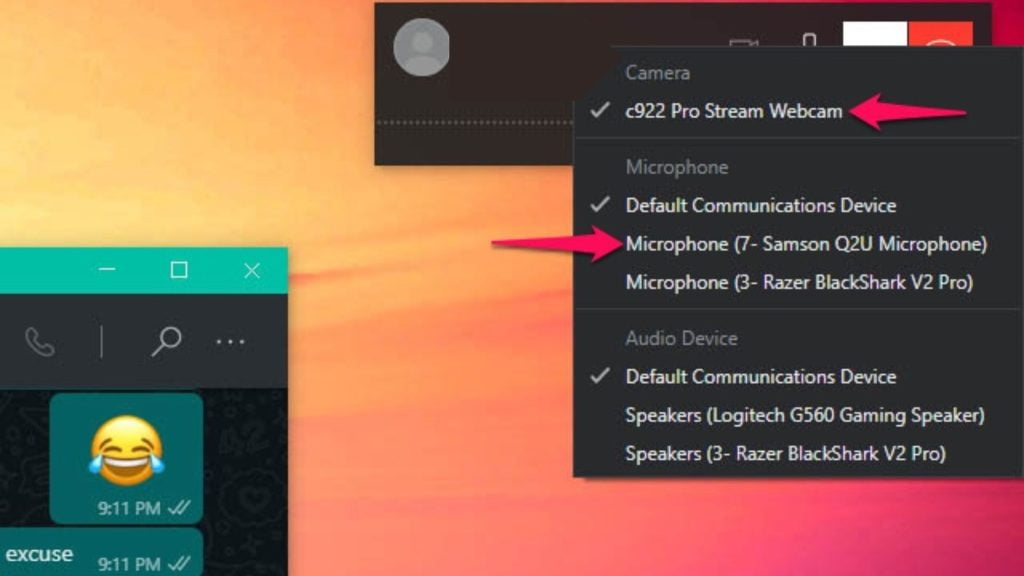
3. Choose the camera or microphone you want to use during the call.


