
While Apple’s accessibility features are primarily designed for individuals with special needs, they offer practicality and convenience for all users.
One such feature is Assistive Touch, which has been popular among Apple users for several years. Another feature is Motion Reduction, which is often enabled by users when setting up a new iPhone or iPad.
Below is a list of 10 helpful accessibility features available on iOS devices that users can learn, activate, and test on their iPhones or iPads:
iPhone Accessibility Settings
1. Zoom

The Accessibility Zoom feature on iOS is not related to the camera zoom, but instead, it allows users to zoom in on the contents displayed on the screen of their iPhone or iPad.
This feature comes with several tools, including intelligent scanning and filtering, maximum level, and other functions, which can help individuals with visual impairments to see more clearly on the small screens of mobile devices.
To use Zoom on your iPhone, go to Settings > Accessibility > Zoom > On and configure it according to your preferences.
2. Text font size
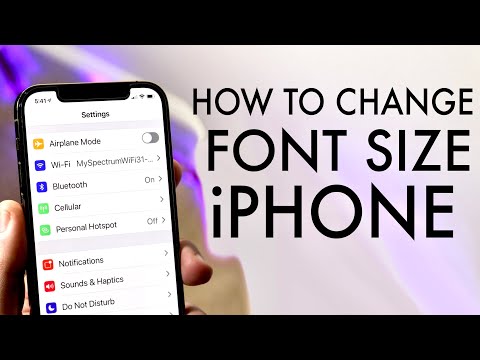
For those who require assistance viewing content on their phone screen, the text size feature allows for a significant increase in the font size of on-screen letters.
This feature is applicable across all apps that use “Dynamic Font,” which includes all native iPhone apps as well as communication and email apps like WhatsApp, Telegram, Gmail, and Messenger, among others.
To increase the size of the text displayed on your iPhone screen, go to Settings > Accessibility > Screen & Text Size > Larger Text > On and drag the bar from left to right to set the best font size for your reading.
3. Symbol in selection buttons
Enabling symbols in selectors is a simple yet helpful accessibility feature that aids individuals with color blindness or visual impairments.
By activating this feature, selection buttons are accompanied by symbols in addition to their colors, making them easier to interpret. This adjustment allows users to rely on the symbol instead of just the color, which can be challenging for some.
To activate the symbol in your iPhone’s selectors, go to Settings > Accessibility > Screen and Text Size > Symbol in Selectors > On, and that’s it. You’ll immediately see symbols on the activation buttons.
4. Classic or Smart Invert

Before the introduction of Dark Mode in iOS, Color Inversion was a frequently used feature. It changes light colors to dark, such as converting the white background of a browser or note-taking app to a black background, making it easier to read at night.
The difference between Smart and Classic Color Inversion is that Smart detects images, photos, videos, media, and app icons and does not apply color inversion to them. At the same time, Classic inverts all colors on the screen, regardless of the content.
To activate the feature, go to Settings > Accessibility > Screen and Text Size > Classic or Smart Invert
5. Screen color calibration
The iOS color filters feature is often utilized to cater to special needs, as it aids in recalibrating the colors displayed on the device’s screen. The function provides various grayscale filters, colors designed to address color blindness, such as protanopia and tritanopia, and the ability to overlay color on the entire screen.
However, using color filters is not limited to people with special needs. Users who have replaced their device’s original screen with a new one, for example, after cracking it, can adjust the intensity and hue controls of the overlay filter to rectify any defects.
To explore the feature’s color filter options, go to Settings > Accessibility > Display and Text Size > Color Filters > On.
6. Reduction of movements between screens

Apple introduced a feature to minimize movement between iPhone screens after a controversy that claimed the excessive screen effects in iOS 7 caused discomfort, nausea, and even labyrinthitis in some users.
Although the effects have been improved in newer versions of iOS, the feature remains for those who prefer a simpler and faster way to switch between screens without unnecessary embellishments. It offers more practical handling of the iPhone and can benefit users sensitive to motion or prefer a minimalist interface.
To reduce movement between your iPhone screens, go to Settings > Accessibility > Motion > Reduce Motion > On.
7. AssistiveTouch
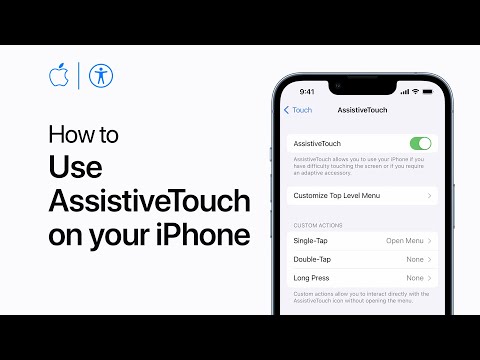
This one is one of the most commonly used accessibility features on iPhones, which is AssistiveTouch. Initially, users started using this feature when the home button on their iPhone failed, making it difficult to use. However, the feature has many uses beyond replacing the home button.
AssistiveTouch adds a virtual home button on the iPhone screen that appears wherever the user enters, with varying opacity that can be adjusted in the settings. Users can configure the button’s function, such as activating Siri, taking a screenshot, controlling the device volume, or locking the device. The feature offers several options that can be customized to suit the user’s needs.
To use AssistiveTouch, go to Settings > Accessibility > Touch > AssistiveTouch > Enable and configure it according to your preferences.
8. Back Tap
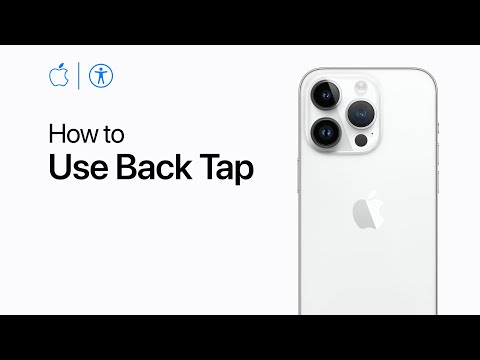
Introduced with iOS 14 and available only to devices with a glass back from the iPhone 8 generation onwards, Back Tap allows you to set functions for quick double-taps on the back of your device. You can configure it to take a screenshot, increase or decrease the volume, lock the screen, activate Siri, and more.
Additionally, you can disable the feature to prevent accidental activation of functions through unintentional touches on the back of your device.
To use Ringtones Back on your iPhone, go to Settings > Accessibility > Touch > Back Tap (last option, bottom of screen) > On and configure them to your preferences.
9. Sound recognition

iOS 14 introduced the Sound Recognition feature, which can be particularly helpful for individuals with hearing difficulties. However, this feature can also be useful for individuals who frequently wear headphones.
Sound Recognition enables users to select a specific noise they wish to detect, and they will receive a notification on their iPhone when the sound is detected. The feature offers a range of options, including doorbells, crying babies, screaming, barking dogs, coughing, car horns, sirens, and knocking on doors.
It is important to note that overusing this feature can result in overwhelming notifications, which can be frustrating. For instance, if the feature detects the sound of a shower, it may send several notifications related to “Running Water” detected, cluttering the Notification Center. Therefore, it is essential to assess the need for this feature carefully.
To use Sound Recognition on your iPhone, go to Settings > Accessibility > Sound Recognition > On and configure the sounds you want to monitor.
10. Blink LED for Alerts
The flash LED alert feature is a convenient tool that requires careful consideration. The flashing light can be overwhelming in specific settings, such as a bedroom or workspace. For those who use the Do Not Disturb or Focus Mode feature, the LED will only flash for authorized calls based on preset configurations.
However, the flashing LED can become a nuisance for those who have their phone set to vibrate or ring with each notification. It is recommended to enable this feature when you cannot hear your phone ring, such as when you are in a loud environment or have headphones on or when your phone is on silent mode, and you need to be aware of incoming notifications.
To use this feature, go to Settings > Accessibility > Audio/Visual > Blink LED for Alerts > On.
11. External noise cancellation
An accessibility feature that helps to maintain call quality in noisy environments or public places is available on iPhones.
This feature cancels outside noise but only works when you hold the iPhone to your ear during the call. Unfortunately, this means that it cannot be used during hands-free calls.
To activate noise cancellation for your phone calls, go to Settings > Accessibility > Audio/Visual > Noise Canceling > On.
12. Attention Aware to Face ID
An accessibility feature has been added to iPhone’s Face ID unlocking function to enhance security. This feature enables the device to unlock only when direct eye contact between the user and the front camera exists.
To enable Face ID attention on unlocking your iPhone, go to Settings > Accessibility > Face ID & Attention > On.
13. High-volume notifications
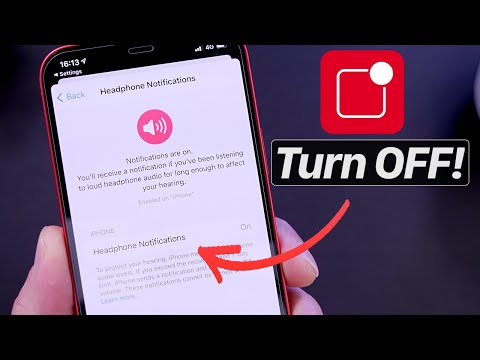
This accessibility feature is designed to alert iPhone users who frequently listen to music at high volumes through their headphones.
The feature notifies users when the acceptable volume limit has been exceeded for more than seven consecutive days, encouraging them to consider reducing the volume to prevent permanent damage to their hearing.
To turn on high-volume notifications on your iPhone, go to Settings > Accessibility > Audio/Visual > Volume Notifications > On.
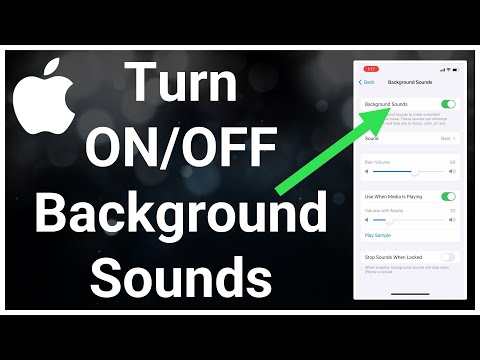
14. Background sounds
In conclusion, the background sounds feature on the iPhone provides a range of ambient sounds like rain, streams, and ocean, among others. You can play these sounds while listening to music or not, using either headphones or speakers on your iPhone.
This feature can help you to focus better on certain everyday activities and tasks or even aid in relaxation. Try exploring this feature to see how it can benefit you.
To use background sounds on your iPhone, go to Settings > Accessibility > Audio/Visual > Background Sounds > On and explore the feature options.
Extra: Accessibility shortcuts
As an extra tip, use one or more of these features listed above much faster than going into your iPhone’s Settings every time you need them. To access these features more quickly, you can activate the accessibility shortcut by pressing the side button on your device three times.
To activate it, go to Settings > Accessibility > Accessibility Shortcut (last option, at the bottom of the screen) > and select one or more functions.
When configuring more than one feature, when you activate the shortcut, a window will open with options for you to choose which one you want to activate.


