

Apple introduced the HEIC (High-Efficiency Image Container) format to enhance photo storage efficiency and quality. This format supports features like Live Photos, provides superior post-processing quality, and reduces file size compared to traditional JPEG. However, its compatibility is limited primarily to Apple devices.
If you need to access HEIC photos on other platforms, such as Windows or Android, you may need to convert them to the widely supported JPEG format. Fortunately, converting HEIC photos to JPEG is straightforward. Below are various methods to accomplish this, tailored for iPhones, macOS, and other platforms.
Convert HEIC Photos to JPEG
Using the Files App on iPhone
The Files app is a built-in iPhone tool that can help you quickly convert HEIC photos to JPEG. Here’s how you can do it:
- Navigate to the Photos app and locate the photos you want to convert in your Photo Library.
- Tap the share icon (a box with an arrow pointing up, located in the lower-left corner).
- Select “Copy Photos” from the menu.
- Return to the home screen and open the Files app.
- In any folder or space, press and hold until a menu appears. Select “Paste”.
The copied photos will now be saved in JPEG format within the Files app.
Using macOS Monterey or Higher
Mac users with macOS Monterey or later can use Finder’s built-in image conversion feature to convert HEIC photos to JPEG quickly. This method is especially useful for batch conversions.
- Open Finder and navigate to the folder containing the HEIC photos.
- Select the photos you want to convert.
- Right-click on the selected images.
- From the context menu, choose “Quick Actions” and then “Convert Image”.
- In the dialog box, choose “JPEG” as the output format.
- Click “Convert to JPEG,” and the converted images will be saved in the same location.
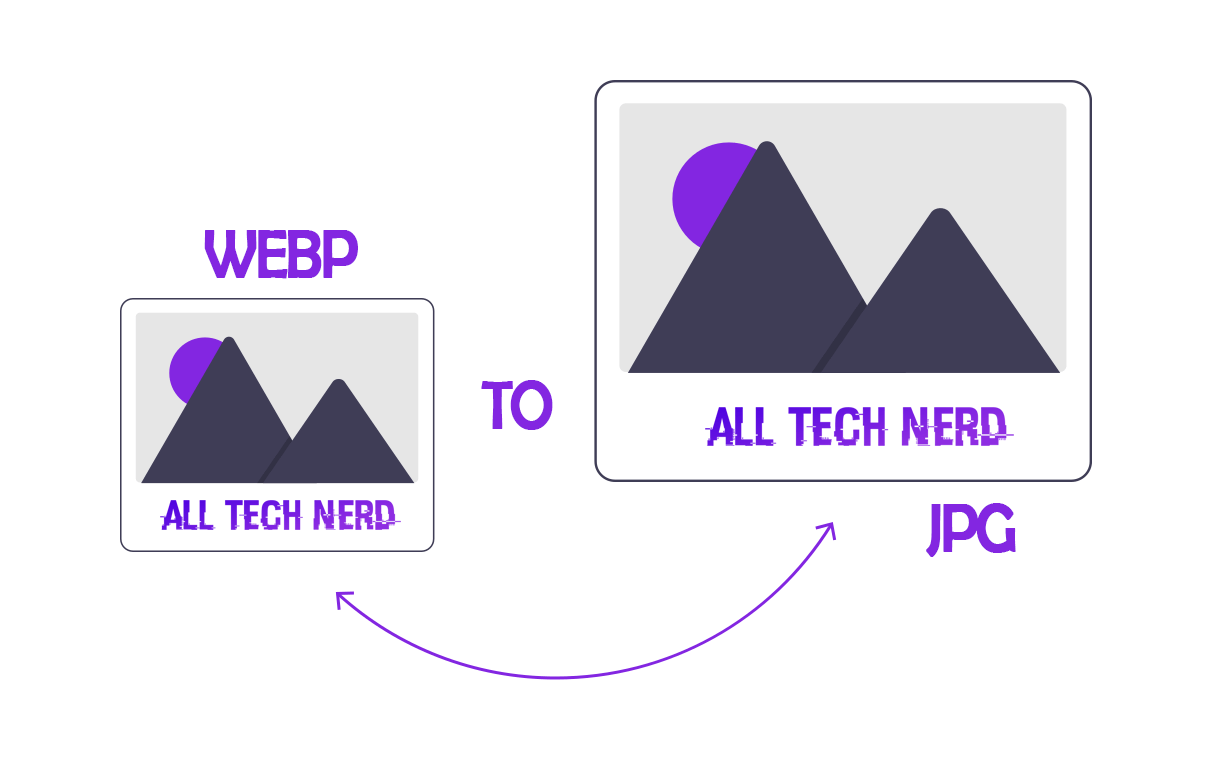
Using Online Conversion Tools
For non-Apple devices such as Windows PCs or Android, online tools can help convert HEIC photos to JPEG without requiring additional software. One reliable platform is CloudConvert, which is free and easy to use.
- Open your preferred browser and go to CloudConvert.
- Click the “Select File” button to upload your HEIC photos. You can add multiple files for batch conversion.
- From the format options, select “JPEG” as the desired output format.
- Click “Convert” to start the conversion process. Once complete, download the JPEG files to your device.
The HEIC format offers incredible storage efficiency and quality but can be inconvenient when working with non-Apple devices. Whether using an iPhone, a Mac, or another platform, the methods above ensure seamless conversion of HEIC photos to the universally supported JPEG format. Choose the method that best suits your device and requirements!


 format to enhance photo storage efficiency and quality.)