
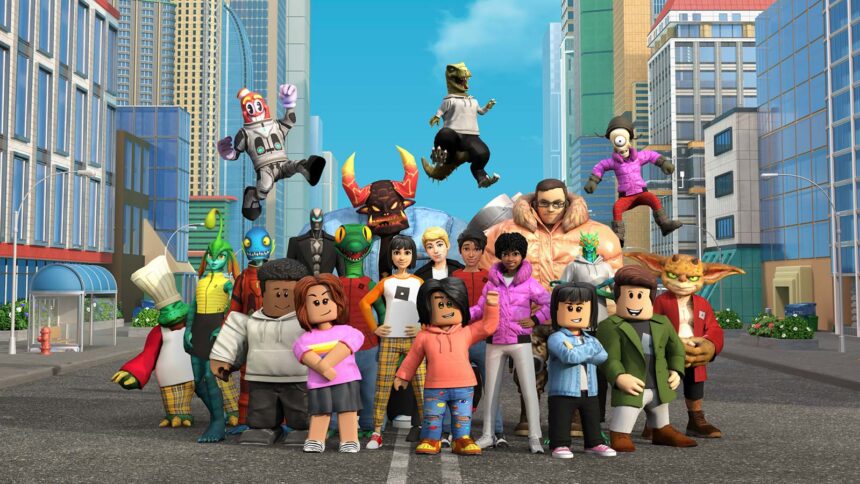
Roblox has become massively popular on computers and mobile devices due to its incredible creative potential. In the game, players can build their own maps and worlds based on whatever themes they want, allowing them to recreate the worlds of movies, TV shows, anime, and other games in a virtual space.
With so many possibilities, many players desire to craft unique spaces tailored to their specific interests that they can enjoy alone or with friends. To help players bring their creative visions to life, All Tech Nerd has published a step-by-step guide on how to build customized Roblox worlds.
This guide covers the Roblox creative tools in depth, walking readers through the map-building process from initial concept to final polished product. It provides tips on translating ideas into the Roblox engine, editing terrains, decorating, using lighting effectively, adding interactive elements, and importing models or textures.
How to create, publish, and edit a map in Roblox
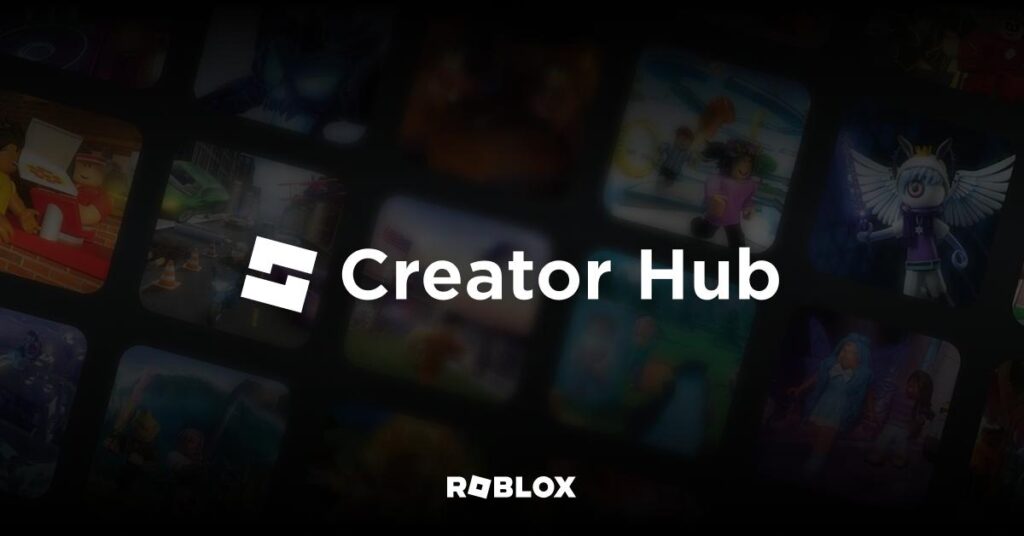
1. Go to the Roblox Creator Hub website, log in, and click the “Create” tab in the upper left corner.
2. On the page, click the “Start Creating” option.
3. The website will open the “Open Roblox” and “Download Studio” options. If you don’t have Roblox Studio downloaded, click the option in the center of the screen under “Download Studio”. If you already have it, in the one above, in “Open Roblox.”
4. In the open Roblox Studio, there are several possibilities. The “Baseplate” and “Classic Baseplate” options are recommended for anyone who wants to create a map from scratch. The other variations have ready-made scenarios that can be customized by players. Choose the one you prefer.
5. Use the W, A, S, and D keys and the mouse to move around within the selected map. Holding the right button makes it possible to change the direction of movement. To move away or closer, use the wheel.
6. The “Editor” and “Toolbox” options will be the main ones for your creation. Use them to generate terrains, walls, locations, characters, and more, as you wish, and creativity.
7. Place the mouse over the lying triangle in the upper right corner after creating everything you want. Select “Run” to see the map working in the options or “Play/Play here” to test it now with your character.
Important: don’t forget to put the item “Spawn” (gray plate with a black sun type at the base), as it determines where the player will spawn on the map.
8. After all tests and modifications are done, click on the “File” tab in the upper left corner of Studio. With the options open, click “Save to file”.
9. Done that, click again on “File” and the option “Publish to Roblox.” Name, describe, and select the platforms for your map. After all, click “Create”.
10. Open the Roblox website again and go to the “Create” option. In the tab, click on “Manage my experiences.”
11. With the menu open, click the “Private” option below your map and change it to “Public.”
12. Click on your profile menu in the upper left corner to view your maps. Select the desired one and then click the green play button to open Roblox.
13. Done that, it will open the game on your map, and that’s it! Have a good time!


