
Compressing files into ZIP archives on your iPhone offers several benefits. In addition to freeing up storage space when originals are deleted after compression, it enables easier and quicker sharing of multiple files bundled into one package.
Deleting the originals post-compression also avoids duplicate copies upon unzipping, as the unzipping process surfaces a new folder containing the formerly compressed content.
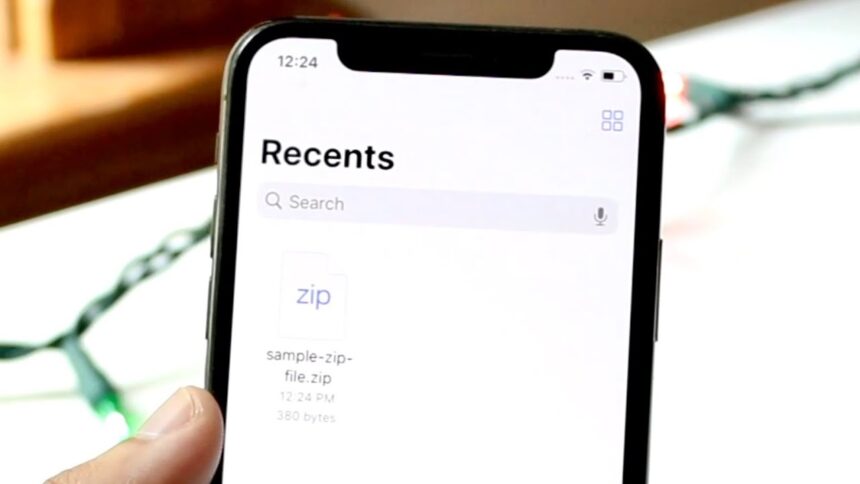
The iOS Files app, included natively since iOS 11, provides straightforward compression functionality to create ZIP files. However, an important prerequisite is that any files intended for compression must already be housed together in the same in-app location.
You can leverage the Files app to generate ZIP files on your iPhone like so:
Create ZIP Files on iPhone
Here’s a step-by-step guide on how to compress and create ZIP files on your iPhone using the iOS Files app:
1. Open Files App: Launch the Files app on your iPhone.
2. Navigate to the location where your files are stored. Tap the three dots icon at the top right corner of the screen.
3. In the options menu, choose “Select”.
4. Select all the files you want to include in your ZIP archive. Ensure that all the files you need are located together in the same location.
5. Tap the three dots icon at the bottom right corner of the screen.
6. From the options menu, select “Compress”.
7. A ZIP file containing your selected files will be created instantly.
8. Press and hold the ZIP file icon. In the options menu, select “Rename” and give your ZIP file a suitable name.
9. To prevent duplicates when unzipping the ZIP file, tap the three dots icon at the top right corner of the screen again.
10. Choose “Select” from the options menu.
11. Select the files that were added to the ZIP file. Tap the trash can icon at the bottom right corner of the screen to delete them.
12. To unzip your ZIP file, simply tap on the ZIP file icon.
13. A new folder with the same name as your ZIP file will appear, containing all the compressed files inside.
14. Tap on the folder to open it and access your compressed files stored in the ZIP archive.
By following these steps, you can easily compress and create ZIP files on your iPhone using the iOS Files app, optimizing storage space and facilitating file sharing and organization.


