
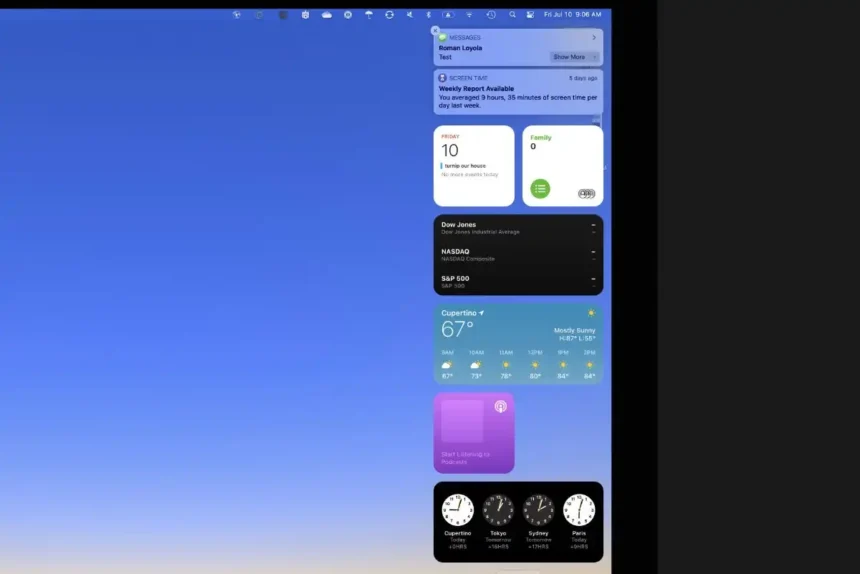
Getting notifications on your Mac helps you stay on top of reminders, messages, emails, and more. It’s like the notification features on an iPhone, but right there on your computer. Everything still gets collected in one place in the Notification Center, too, so you don’t miss anything important.
But what if you want to tweak how certain apps notify you to make them even more useful?
Well, you totally can! You can change things like how long a notification sticks around on your screen or what the banner popup looks like. You can even turn off notifications from a specific app bugging you with too many.
Customizing notifications for each app helps make the experience perfect for your needs. Maybe you want email banners to disappear faster so they don’t distract you. Or perhaps you want calendar alerts to be bigger and more visible. It’s all up to you!
Interested in customizing your Mac notifications?
Just follow the simple steps I’ve laid out below. I’ll walk you through managing notifications on an app-by-app basis. Then you can get them working just the way you like!
How to Customize Notifications on Mac
1. Open the System Preferences app. Then click on the “Notifications” section.
2. In the left corner of the window, click the app you want to customize notifications for. Choose whether to receive notifications from him and the alert style. Under “Banners,” notifications appear temporarily and then disappear. In “Alerts,” notifications persist on the screen until you manually dismiss them.
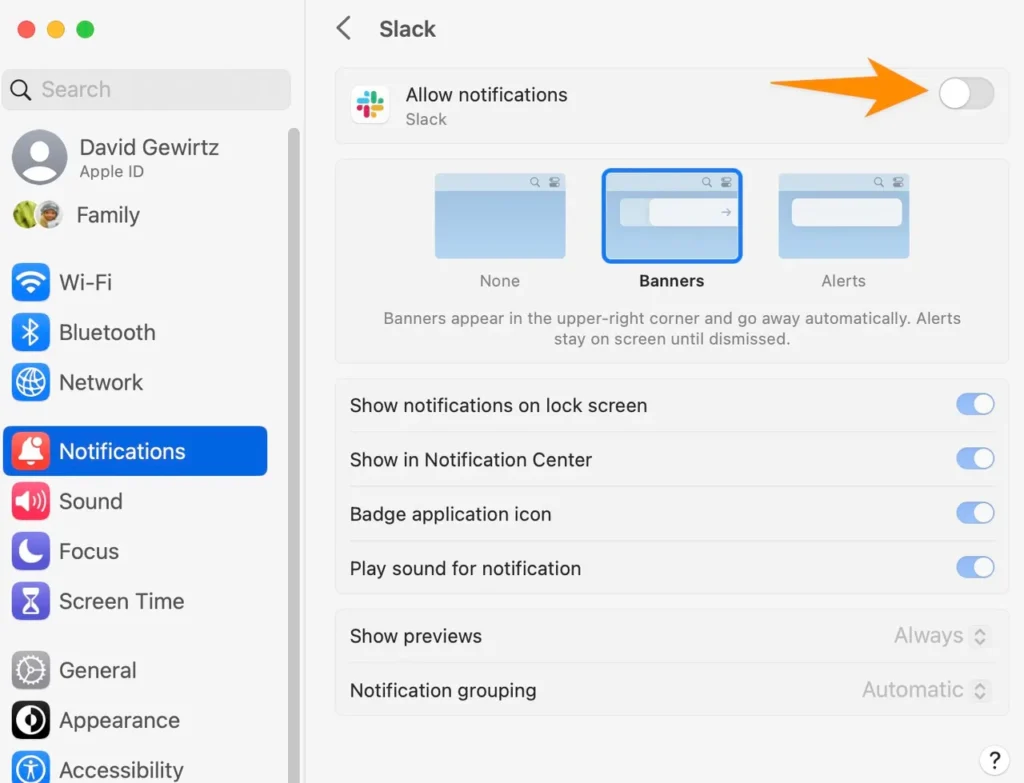
Below, take the opportunity to modify other parameters such as display in the Notification Center, play alert sounds, and allow warnings in the app, which displays the famous red seal with notification count (present on iPhone and iPad).
Modify the settings for each application to your liking and make your Apple computer experience even more productive.


