

The Guest User feature on Mac is incredibly handy as it allows you to create a temporary session on your device without revealing any data or files saved by the primary user, typically the computer’s owner.
While the Guest User experience is somewhat limited, it serves as the ideal solution for individuals who share a computer in a home or work setting. You no longer need to worry about password-protecting your files or logging out of your social media accounts, as nobody will have access to your personal information.
When you activate the Guest User feature, a new session begins, as if macOS had just been installed. You can freely download and view files during your session, but you won’t be able to install any software without authorization. Once you log out, all the files associated with the Guest User session are automatically deleted, ensuring privacy and security.
To take advantage of this valuable feature and enhance the sharing of your computer securely and privately, follow the simple steps provided below to enable Guest User on your Mac. It’s a seamless way to maintain your data separate and protected while allowing others to use the computer.
How to enable Guest User on Mac
1. Open the System Preferences app. You can do this by going to the Apple menu at the top of the screen and clicking “System Preferences…”.
2. Go to the “Users and Groups” section. Then unlock the padlock at the bottom of the window.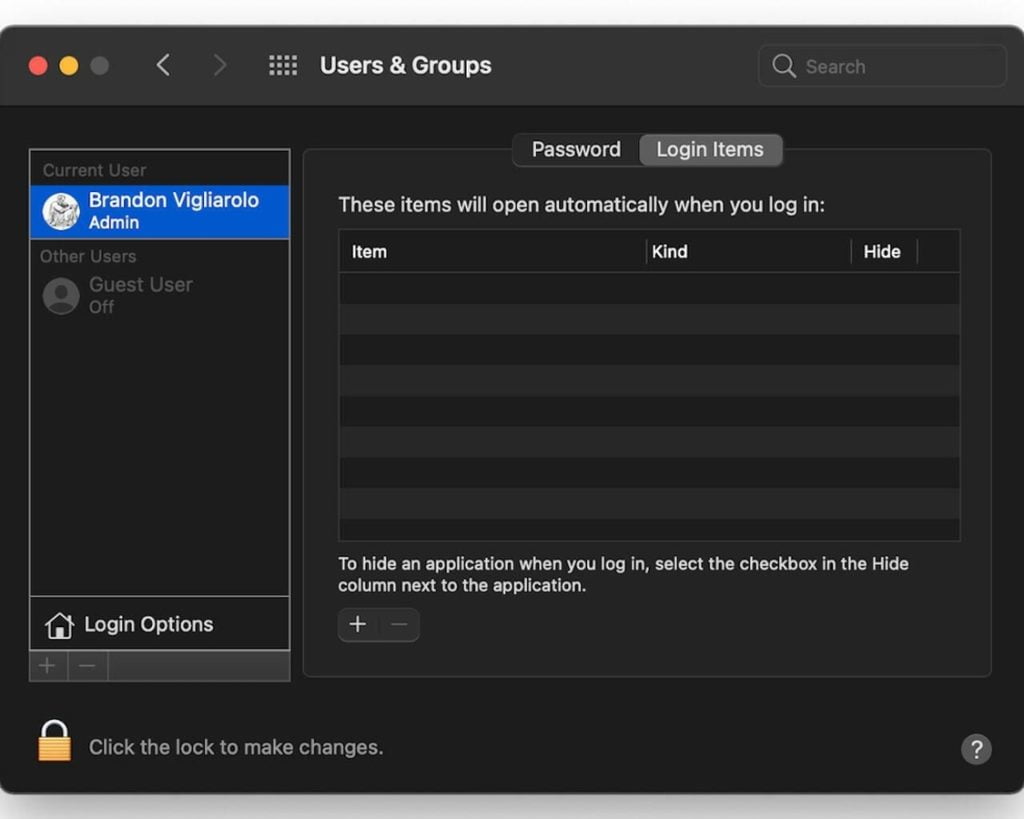
3. In the left corner of the window, click on “Guest User” and enable the option “Allow guests to log in to this computer.”
Below are some options to adjust the usage of “Guest User.” To prohibit visiting pornographic sites, select the “Limit Adult Sites” option. Then you can allow a guest folder to be shared with your user.
You can uncheck the “Allow guests to log in to this computer” option whenever you want to disable access for guest users. Easy.


