
If you have formatted a computer before, you probably know that it can be somewhat tedious. You must go through and delete all the files on the computer or format the hard drive and reinstall Windows, which takes hours and days. This article will show you how to quickly and easily format a Windows 7, 8, or 10 PC with simple steps.
Also, you must have a copy of the operating system to reinstall it on the device. And if you still think this procedure is out of this world, we explain how to format a Windows PC step by step. Check out the tutorial below.
How to Format a Windows PC
1. What You Will Need
To format your PC, you will need:
– A Windows XP CD-ROM or a Windows Vista DVD
– A blank DVD or CD
– A USB flash drive (optional)
2. Backup Your Files
Before you begin the formatting process, it is important that you backup all of your important files. This includes documents, photos, music, and anything else you do not want to lose.
There are several ways that you can back up your files:
- Copy them to an external hard drive or USB flash drive.
- Burn them to a CD or DVD.
- Upload them to a cloud storage service like Dropbox or Google Drive.
- Once Done, Follow the Step Below.
3. Restart Your PC and Boot from USB or DVD
- Insert the Windows 7, 10, or 11 DVD into your computer’s optical drive. If you are using a USB flash drive, insert it into a USB port on your computer.
- Restart your computer. If prompted, press any key to boot from the CD or DVD.
- Press Enter when the “Welcome to Setup” screen appears.
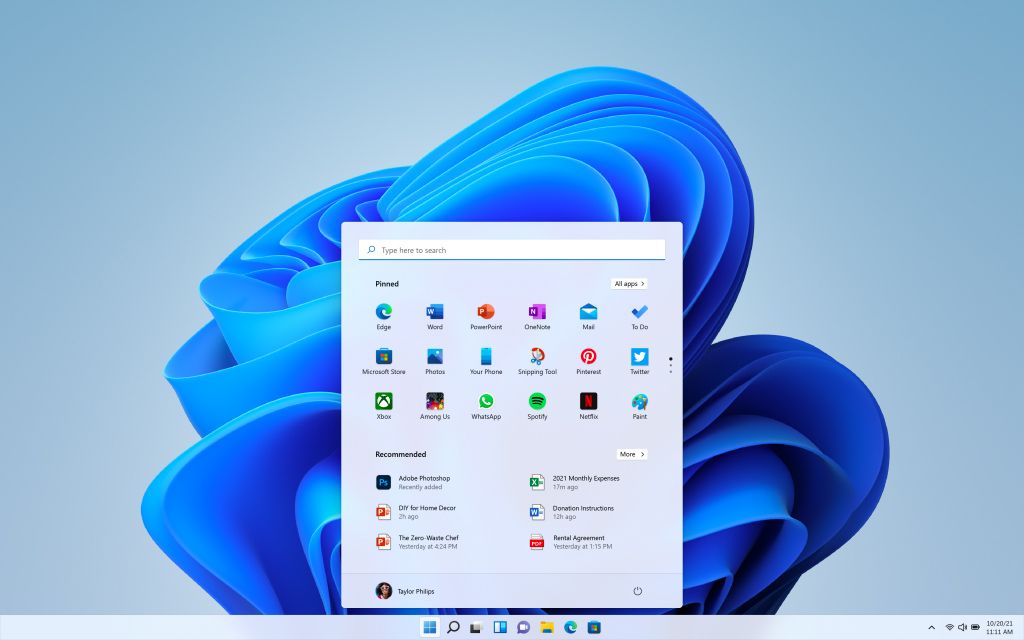
- Choose the Version of Windows You Wish to Install.
4. Use Disk Management to Format Your Drive
- After opening Disk Management, you should see a list of all the drives connected to your computer. Locate the drive that you want to format and right-click on it.
- In the menu that appears, select ‘Format.’
- A new window will pop up asking you to confirm the format. Ensure the correct drive is selected, then click ‘Format.’
Depending on the size of the drive, the format process can take a few minutes to complete. Once it is finished, your drive will be ready to use!
5. Understanding the New Partition
Once you format the Drive and Delete it. Then you have unallocated space on your hard drive, you need to create a new partition. This will be the place where Windows 10 will be installed.
- To do this, right-click on the unallocated space and select “Create Partition.” A wizard will appear that will walk you through the process.
- In most cases, you will want to create a primary partition. This is the hard drive section that Windows will use as its main operating system.
- You will also need to specify the size of the partition. In most cases, you will want to use all of the unallocated space. However, you can choose to create a smaller partition if you like.
Once you have created the partition, you can now install Windows 10!


