

Adding fonts to Windows 10 is relatively easy. Even though there are already many fonts on your computer, you might want to get some new ones for a specific project.
With Windows 10, you can install a font you’ve already downloaded or find new ones from the Microsoft Store. Here’s a simple guide on how to install fonts on your Windows 10 computer:
Advertisements
How to Install Fonts Directly from File
Right-click on the font you downloaded, select “Install for all users,” and wait for it to be installed. It is important to note that if you downloaded a compressed folder, remember to extract the files before completing the process.
How to Install Fonts in the Control Panel
- Open the Windows 10 Control Panel.
- In the upper right corner, search for the “Fonts” folder and click on it.
- Drag the downloaded font to the font area and wait for it to install. Remember to unzip the file before dragging it.
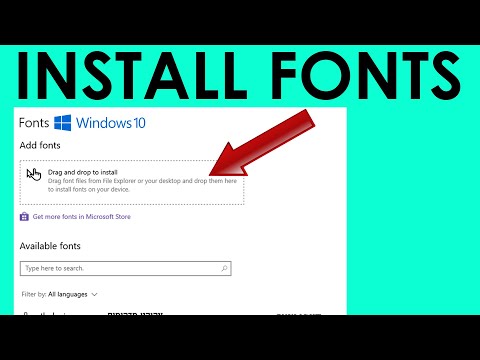
How to install fonts from the Microsoft Store
- Open the Windows 10 “Settings” menu and select the “Personalization” option.
- In the left side menu, click “Fonts” and select “Download more fonts from the Microsoft Store.” You can also drag the fonts you’ve downloaded onto this tab.
- A Microsoft Store tab will open. Search and choose a font you would like to use from the store.
- Click “Get” and wait for the font to be downloaded and installed.
Advertisements
Now, you can install downloaded fonts or search for new fonts from the Microsoft Store.


