
Need to print something from your MacBook or iMac but don’t know where to start? Don’t sweat it! Printing your documents, photos, webpages, and more on an Apple computer is simple.
As a long-time Mac user, I’ve printed countless papers, confirmations, maps, images, and other things from my Mac over the years. Once you get the hang of it, you’ll see how easy it is to get hard copies of anything you need.
In this quick tutorial, I’ll walk you through the effortless process of printing on a Mac using the Preview app, desktop printers, AirPrint-compatible printers, and more. Whether you want to print a copy of an important file or a fun picture, you’ll have everything you need to print like a pro directly from your Mac.
Choosing a Printer
The first step in printing a document on a Mac is to choose a printer. If you already have a printer installed, you can skip this step. Otherwise, you must connect your printer to your Mac and install the necessary drivers.
To connect a printer to your Mac, follow these steps:
- Connect the printer to your Mac using a USB, Ethernet, or Wi-Fi connection.
- Turn on the printer.
- Go to Apple menu > System Preferences > Printers & Scanners on your Mac.
- Click the + button and select your printer from the list.
- If your printer is not listed, click Add Printer and enter the printer’s information.
Print Any Document on a Mac
1. By an app
- Open a file on Mac for printing;
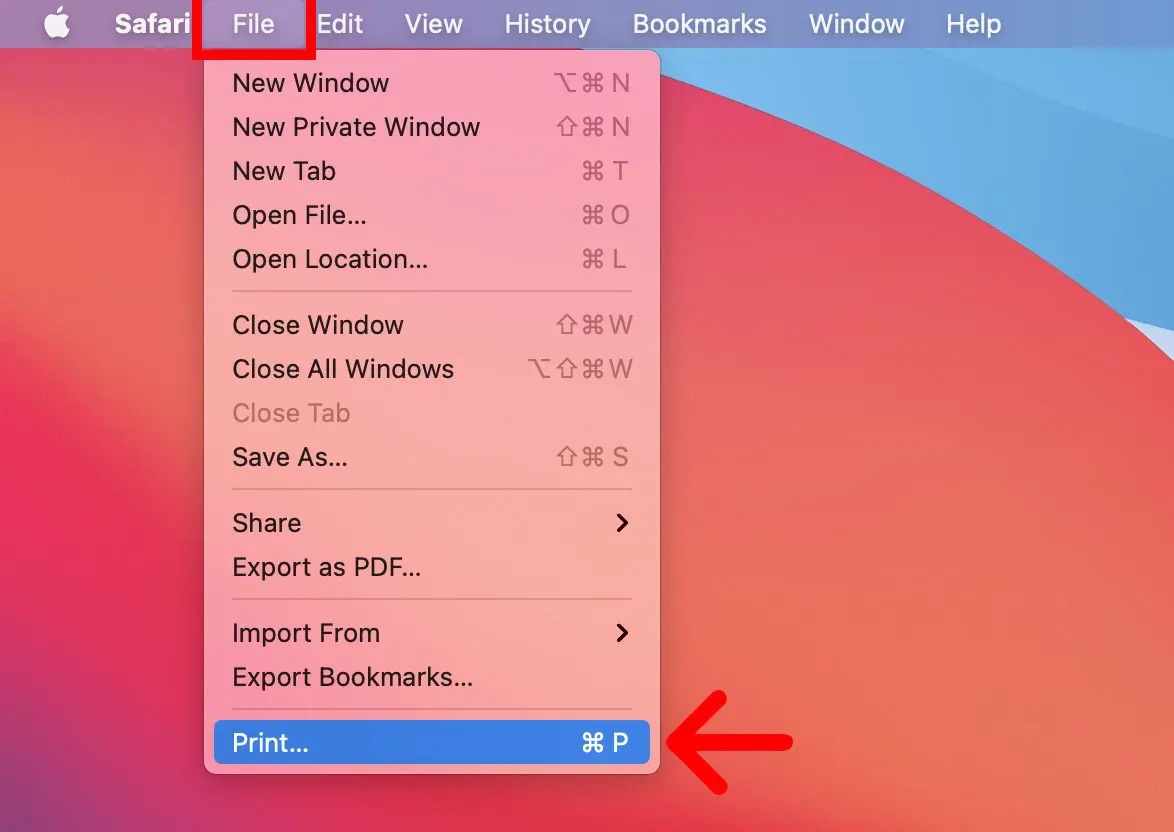
- Click on “File” > “Print” or use the shortcut ⌘ Command + P.
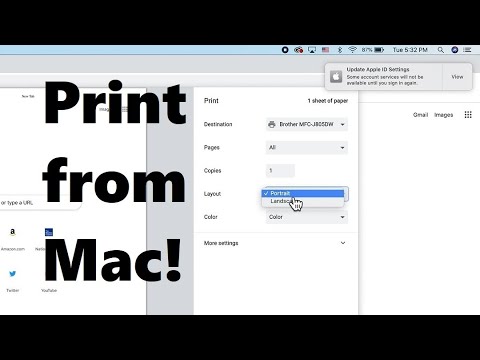
- Make the necessary adjustments and click “Print”.
2. Through the Preview app
- On the PDF or image file that you want to print, select it, and on the top menu bar, click “File” > “Open With” > “Preview”.
- You can select thumbnails from a PDF to choose which ones you want to print. To do this, click on them while holding the button ⌘ Command;
- Go to “File” > “Print”. Then choose one of the print options under “Show Details”:
- Select “Selected Sidebar Pages” or “Selected Sidebar Images” to print only the desired thumbnails;
- Click the “Copies per page” pop-up menu and select a number to print the same image or page multiple times on a sheet of paper;
- Click the “Preview” pop-up menu and choose “Layout,” then choose the number of pages that will be on each printed page from the “Pages Per Sheet” pop-up menu to print several per sheet of paper;
- Select “Auto Rotate” to rotate images or pages to fill the maximum available paper space;
- Click “Adjust Size” and enter a specific percentage to resize an image or page. If you want to fill the sheet as much as possible, select “Fit To:” and choose between “Print Entire Image”, to prevent the image from being cropped or “Fill All Paper” to print according to the proportions of the paper;
- Select “Show Notes” to include notes visible in a PDF window.
And that wraps up this beginner’s guide to printing from your Mac! As you can see, getting physical copies of digital files on an Apple computer is a total breeze.
Whether you need to print a photo, PDF, webpage, document, or anything else, Preview and your printer preferences have you covered. Connect a wired or wireless printer, use AirPrint for compatible models, and use handy Mac features like previewing pages before printing.


