

Snapchat is a popular platform for Image, video-sharing, and video editing. Whether trying to create fun, short clips or longer, more professional videos, Snapchat offers a wide range of editing tools to help you get the job done.
Making a video on Snapchat is quite simple, but you can use some functions available on the platform to style your content before posting. In this article, we’ll explain how to record and edit videos on Snapchat so that you can share your content with the world!
How to record videos on Snapchat
When opening Snapchat, the user is already in recording videos or taking pictures mode, it is quite intuitive. However, if navigating through other menus, tap the camera button on the bottom taskbar to return to the recording area.
The recording time is defined by the time the user clicks the button. To record, just:
- Start by positioning the camera for what you want to film;
- Tap “+” to add a recording timer and proportion grids;
- Press the record button at the bottom of the screen;
- After recording, you will be directed to the editing and posting area.
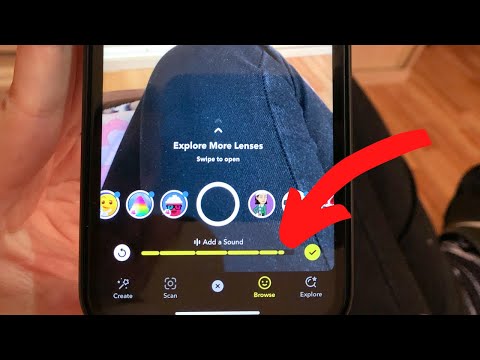
How to add Scenery and Face Lenses
It is important to say that the total number of lenses available may vary depending on the model of the user’s cell phone and the version of the application, so always keep it up to date.
- Tap anywhere on the screen while recording to add Scene Lens;
- If you are looking for Face Lens, tap the face that appears in the recording;
- In both cases, a carousel appears at the bottom of the screen;
- Swipe right and find the Lens you want or tap “Browse” to find others;
- Browse the galleries until you find the one you want.
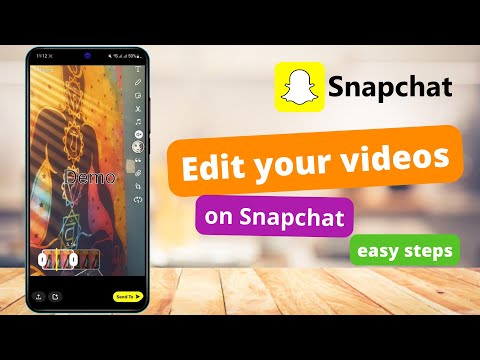
How to edit videos on Snapchat
It is possible to edit the video a little during recording, adding music to the content. However, it is in the Snapchat video editor that the user finds multiple functions.
It might be a good idea to search for Snapchat filters you want to add even before recording so that you can search and add easily during editing. Check below to browse and edit the video.
- In the editing section, use the lower menu to apply filters;
- Swipe left to speed up or slow down the video;
- Swipe right to enter pre-established system texts or filters;
- In the right side menu, you can use the last two icons to define the video orientation and its repetition, respectively.
In addition to these options, the user can also, by pressing each icon, add:
- T: lets you add text to the Snap;
- Pencil: lets you draw freely in Snap;
- Sticker: lets you add stickers and emojis to Snap;
- Scissors: lets you crop an area of the image and use it as a sticker;
- Speaker: lets you mute the video;
- Quotation marks: allows audio transcription;
- Clip: lets you add links to the Snap.
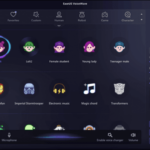
Adding Lenses in Editing
If you didn’t use Lens during the recording process, you could add it before posting the video on the social network. The process is simple,:
- In the edit menu, find in the sidebar and tap on the magnifying glass button with a star;
- Various effects appear on the screen and can be used in the video;
- Browse the available galleries and find what you want;
- Tap to add it to the video;
- The Lens name appears in the video, indicating it has been added.
Ready! This way, you can easily record and edit videos on Snapchat, apply effects and filters, and create content on te social network, which will be available for 24 hours.


