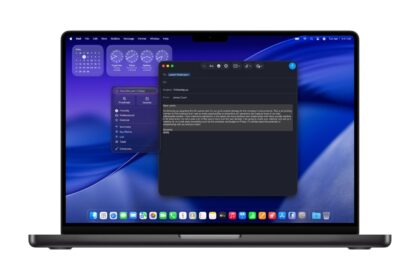
Setting up network file sharing on a Mac may sound daunting, but it’s quite simple. Apple computers provide easy-to-use features that allow users to share files and folders with others, creating a convenient file exchange network.
Not only can you make your Mac accessible on the network, but you also have control over who can access specific folders. This functionality is useful for fostering collaboration within workgroups, allowing you to specify which users can access certain folders, documents, spreadsheets, and other file formats in a company or startup setting.
To share a folder over the local network on a Mac, follow these steps:
How to Share a Folder over the local network on Mac
1. On the top menu bar, Open the Apple menu. Then click on “System Preferences…” > “Sharing.”
2. Click on the “Share Files” option.
3. Under “Shared Folders”, click the “+” button to add a specific folder to be shared.
Each user’s “Public” folder is shared when configuring the resource. To avoid this, click the “-” button to remove it from the network.
4. under “Users”, click the “+” button to add a computer that is connected to the same network or a contact user. Remember that users registered in “Users and Groups” can connect to the Mac over the network by default. User with an admin account has access to their Mac account. If you want to remove a person, select them in “Users” and click the “-” button.
Still in this step, to give access to a folder only to a specific person or group, select it in “Shared Folders,” click the “+” button in “Users,” and follow one of the options below:
- Add users or groups of all Mac users: In the list on the left, select “Users and Groups. Select one or more names in the list on the right and click “Select.”
- Add users or groups from everyone on the network: in the list on the left, select “Network Users.” Select one or more names in the list on the right and click “Select.”
- Add a person from your contact list and create a sharing account for them: in the list on the left, select “Contacts.” In the list on the right, choose a contact, click “Select,” enter a password, and click “Create Account.”
6. specify the access level for each user. Just select it from the “Users” list, click on the menu next to its name, and choose one of the following levels:
- “Read & Write”: The user can only view and copy files to the folder.
- “Read Only”: The user can only see the folder’s contents but cannot copy or modify them.
- “Write-only (Deposit Box)”: The user can copy files to the folder but cannot view them.
If you want a user to share files with Windows, go to “Options”, on the “Sharing” screen, select “Share files and folders using SMB,” and select the account below. Easy, isn’t it
https://youtu.be/cT8wNr3exZQ

