
Windows 10 is an intuitive operating system full of features to help you work smarter and faster. One of its most useful features is the floating buttons – small, transparent windows that sit on top of your other running applications, allowing you to quickly access programs and settings without having to leave whatever you’re currently working on.
Did you know you can enable floating menus and buttons in Windows 10?
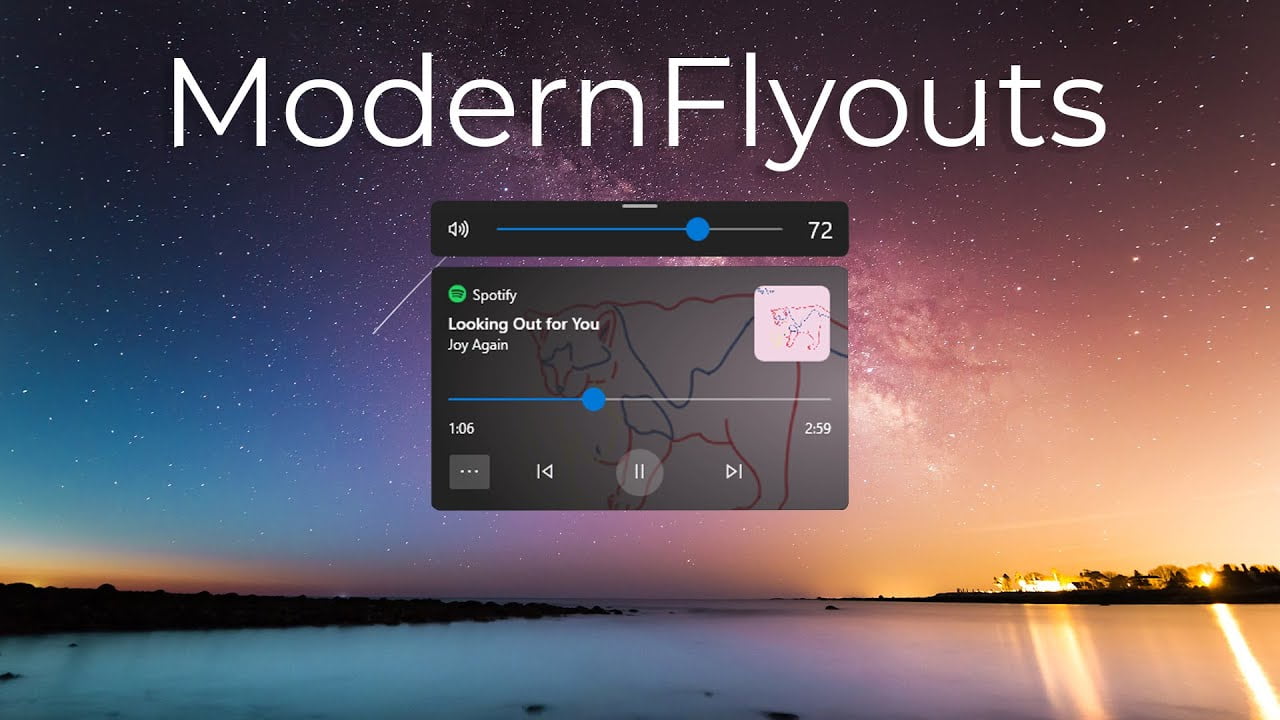
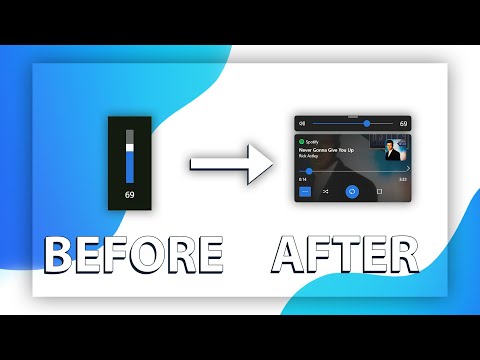
This is one of the customization options available from Microsoft. So you can control some of your computer’s options like brightness and volume, for example, from more modern floating buttons. In this blog post, we’ll explore how these buttons work and why they might be a great addition to your workflow.
How to use floating buttons in Windows 10
1: Go to “Start Menu,” Open the “Microsoft Store”;
2: In Microsoft Store, Search for the application “ModernFlyouts (Preview)”;
3: Then click on “Get” to install it on your computer;
4: Once installed, activate the floating buttons you want to use;
5: So when you want to control the volume of your computer, for example, you can do it through this floating panel.
This is a simple and easy method that allows enabling floating Buttons in Windows 10.


