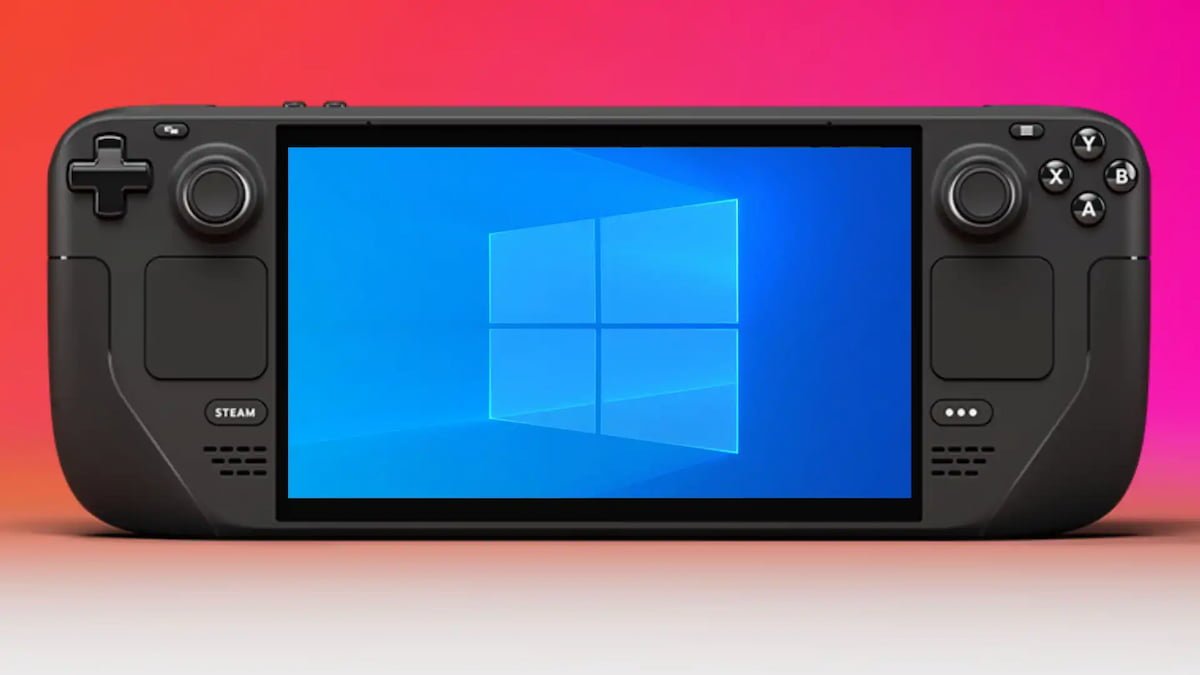
The Steam Deck has become a popular choice for gaming on the go, offering a portable way to enjoy PC games, thanks to Valve. With access to the entire Steam library, it’s a great device for gamers who want to play their favorite titles anywhere.
Although there are other good portable gaming devices, the Steam Deck stands out for many, especially with its availability in both LCD and OLED versions. Despite its impressive power, which allows it to handle AAA games with ease, one major drawback has been its lack of support for Windows. However, this limitation is now being addressed, as the necessary drivers to install Windows on the Steam Deck have been released.
Valve releases drivers needed to install Windows on the Steam Deck OLED

The absence of Windows on the Steam Deck OLED has been a drawback for some users. By default, the Steam Deck runs on SteamOS, which is a solid operating system with many great features. However, many users prefer Windows for its broader compatibility and familiar interface.
Until recently, installing Windows on the Steam Deck OLED wasn’t possible because the necessary drivers to recognize the device’s internal components were missing. This meant users couldn’t have a smooth Windows experience on the device. Fortunately, this has changed for the better.
According to information from SDHQ, Valve has officially released the drivers needed to install Windows on the Steam Deck OLED. These include drivers for the SD card reader, APU, Wi-Fi, audio controllers, and Bluetooth. This means users can now install Windows and enjoy all the benefits of the operating system on their portable console.
Valve has also provided some important details to consider. To ensure that the Bluetooth driver works, you must have SteamOS version 3.6.9 Beta or later installed. Additionally, while the audio drivers work, they currently only support Bluetooth or connected headphones. External speakers aren’t fully supported yet, but Valve is working on improving compatibility.
How to install Windows on the Steam Deck OLED?

If you’re interested in installing Windows on your Steam Deck, the process is relatively straightforward. Here’s what you need to do:
- Start by creating a Windows recovery drive on a USB stick or external hard drive. This will be used to install Windows on your Steam Deck.
- Plug the recovery drive into your Steam Deck, then boot the device. You’ll need to access the BIOS menu (usually by holding a specific key during startup) and select the recovery drive to boot from it.
- Once you’ve booted from the recovery drive, follow the on-screen instructions to install Windows on your Steam Deck. This will include selecting the appropriate partition and configuring the installation settings.
- After Windows is installed, go to the [Windows Drivers page for the Steam Deck OLED] and download all the necessary drivers. These drivers are essential for the Steam Deck’s components to work properly under Windows.
- With the drivers installed, you can now fully enjoy Windows on your Steam Deck, taking advantage of all the features and compatibility that come with Microsoft’s operating system.
This change is a positive development, as it offers users flexibility. Those who prefer SteamOS can stick with it, while others who prefer Windows now have the option to install it and enjoy a smooth, portable Windows experience.


