

The good old social network of stories, or “snaps”? If you’re part of this group, learning to find a Snapchat filter or lens might be interesting.
However, separating these two features is essential before moving forward. The lenses produce 3D effects and elements that enhance the image, allowing the user to scan the surrounding environment for information. Filters are less exciting because they alter an image’s appearance more simply, with fewer complex elements and hues.
Either way, both are useful. In addition to making your activity on the platform more fun, the feature set generates “edited” images and videos. In practice, if you want to add a different effect to some media, you don’t need to use an editor: use the tools and save the content to your gallery later.
How to Search Lens on Snapchat
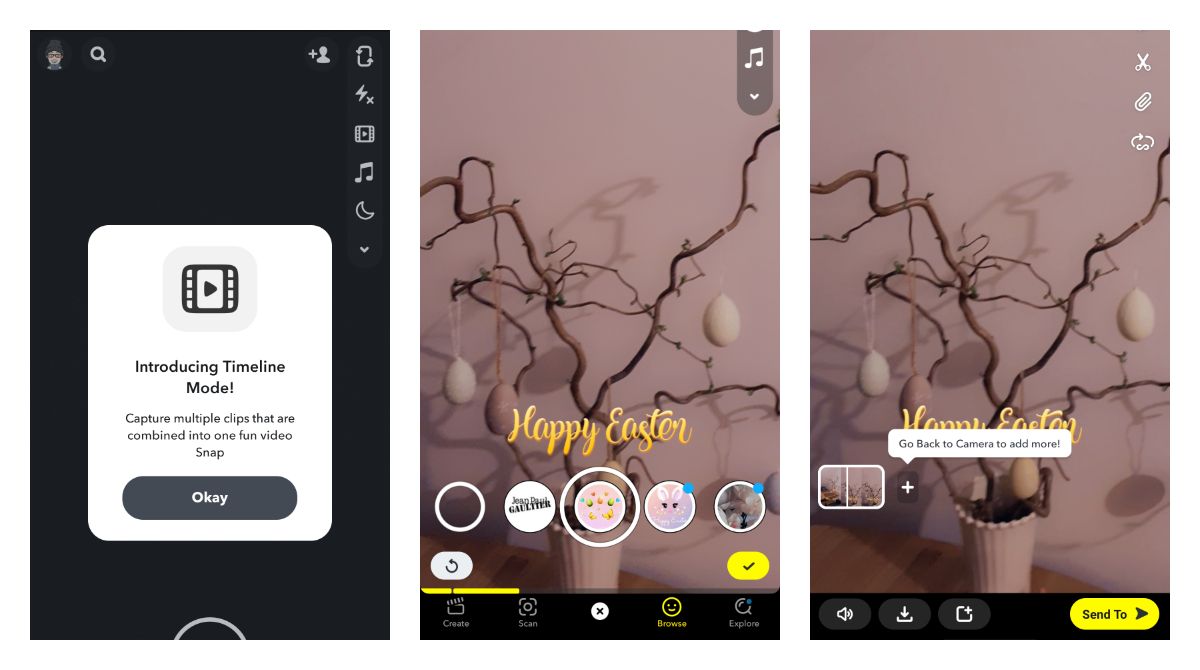
1. To find new lenses on Snapchat, open the publish screen and click the emoji icon on the right. Now, swipe between the options at the screen’s bottom or click the magnifying glass button to access the library. There, you will see lenses organized by categories, and you can use the search engine to find specific options;

2. There is also a way to add lenses after capturing the image or video. To do so, use the middle register button and click the fight icon in the sidebar. With that, you will be taken to the library once more.
How to find filters on Snapchat
1. If you want to add filters to your snap, capture the image or video;
2. Now, swipe left or right to explore the available options;
3. After selecting the first one, combine it with other filters. To do so, click on the “stacking” icon at the end of the toolbar and choose the one you prefer. Repeat the process until you are satisfied with the result.
Sometimes, it is possible to mine filters and lenses your friends use. To check if this option is enabled, slide the snap up and select the effect. Then, use it on your photos and videos.


