
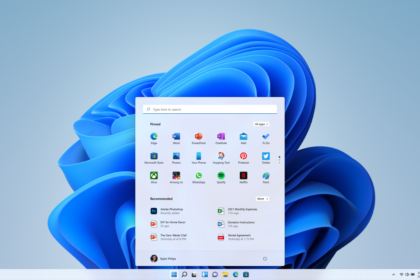
While the launch of Windows 11 in 2021 faced criticism due to bugs and performance issues, several years of updates and fixes have significantly improved the operating system. Now it’s considered the best time to upgrade from Windows 10.
Microsoft has addressed many issues and added support for various hardware configurations. Additionally, Windows 11 introduces useful features and visual changes. Knowing some of the best Windows 11 tricks is helpful to utilize these enhancements fully.
For those who have already installed Windows 11 and want to ensure optimal performance, regardless of their hardware specs, we’ve compiled practical and safe tips to optimize and speed up the operating system. These tips will help enhance your Windows 11 experience and ensure smooth operation.
Speed Up Windows 11
Disable the automatic Startup Programs
It’s common for various programs, both user-installed and integrated into the operating system, to automatically start when you boot up your computer and start Windows. This can slow down the startup process and unnecessarily consume background resources.
To manage the automatic startup of these programs and prevent them from consuming resources, follow these steps:
- Open the Task Manager by right-clicking on the taskbar and selecting “Task Manager” from the menu.
- In the Task Manager window, click on the “Startup” tab. Here, you’ll see a list of programs set to start automatically when Windows boots up.
- Review the list of programs and identify the ones you don’t need to start automatically. These are typically programs that you rarely use or don’t need running in the background all the time.
- To disable automatic startup for a program, select it from the list and click the “Disable” button at the window’s bottom-right corner. This will prevent the program from starting automatically the next time you boot up your computer.
- Repeat this process for any other programs you want to disable from automatic startup.
Uninstall programs you don’t use
It’s easy to overlook installed programs we no longer use, but they still occupy storage space and may even run in the background, consuming resources.
To ensure optimal Windows performance, it’s essential to periodically review your list of installed programs and remove those you no longer need. Follow these steps to do so:
- Open the “Settings” app by clicking the Start menu and selecting the gear icon.
- In the Settings window, click on “Apps” or “Apps & features,” depending on your Windows version.
- You’ll see a list of all the programs installed on your computer. Please scroll through the list to review them.
- Identify programs that you no longer use or need. These could be trial software versions, outdated applications, or programs installed for specific tasks you no longer perform.
- To uninstall a program, click on it in the list to select it, and then click the “Uninstall” button that appears. Follow the prompts to complete the uninstallation process.
- Repeat this process for any other programs you want to remove.
Manage storage with Storage Sense.
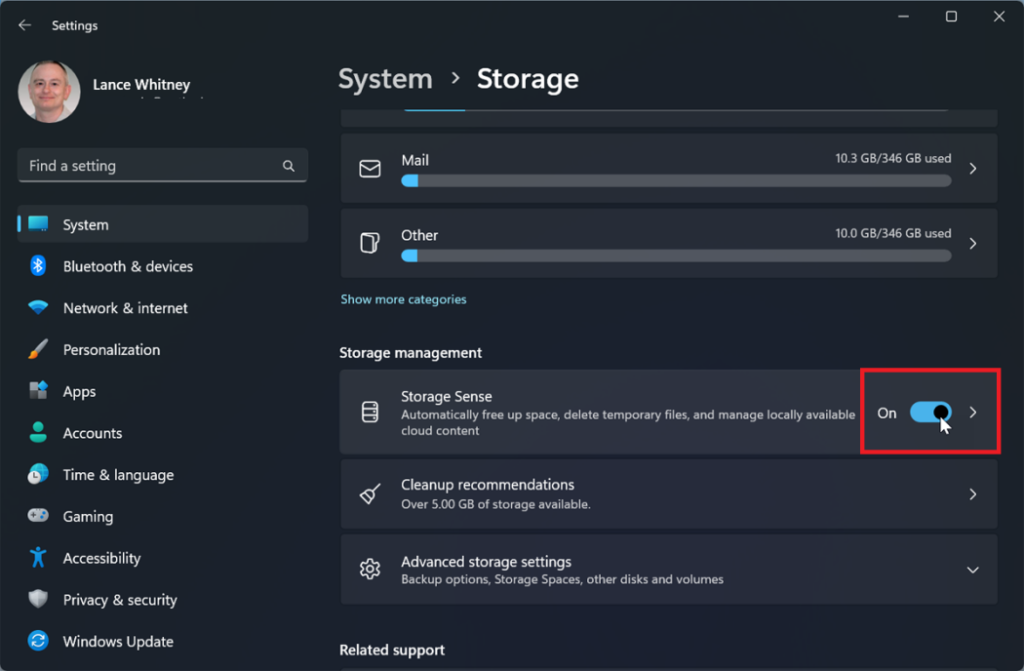
Did you know Windows 11 has a feature to help you manage your storage space? You can find it in the Settings menu under “Storage.”
Here’s how to access it:
- Press the WINDOWS key + I to open the Settings. Then click on “System” and select “Storage.”
- In this menu, Windows will scan your computer to show you how much space each item and file is taking up. You’ll see folders like Images, Temporary, and Downloads, where you can manage and delete files.
But there’s more! Below this menu, you’ll find an option called “Storage Sense.” When activated, it automatically frees up space by deleting temporary files and more. It’s a handy feature to help you reclaim storage space on your drive.
For even more optimization, you can use Microsoft’s PC Manager, a free and official program designed to optimize Windows.
Disable visual effects and animations
If your Windows computer isn’t equipped with advanced hardware to smoothly run Windows 11, or if you don’t prioritize visual effects and decorations, you might want to consider disabling them.
While the visual effects in Windows 11 enhance its appearance and make it more appealing, they also require additional system resources. If your computer lacks sufficient power, disabling these effects can help improve performance. Here’s how you can do it:
- Press WINDOWS + R to open the Run dialog box.
- Type “sysdm.cpl” (without quotes) and press Enter.
- In the System Properties window, go to the Advanced tab.
- Click on the Settings button under Performance.
- In the Performance Options window, select the “Adjust for best performance” option to disable all visual effects, or manually uncheck the boxes for impact you don’t need while keeping others.
- Click Apply and then OK to save the changes.
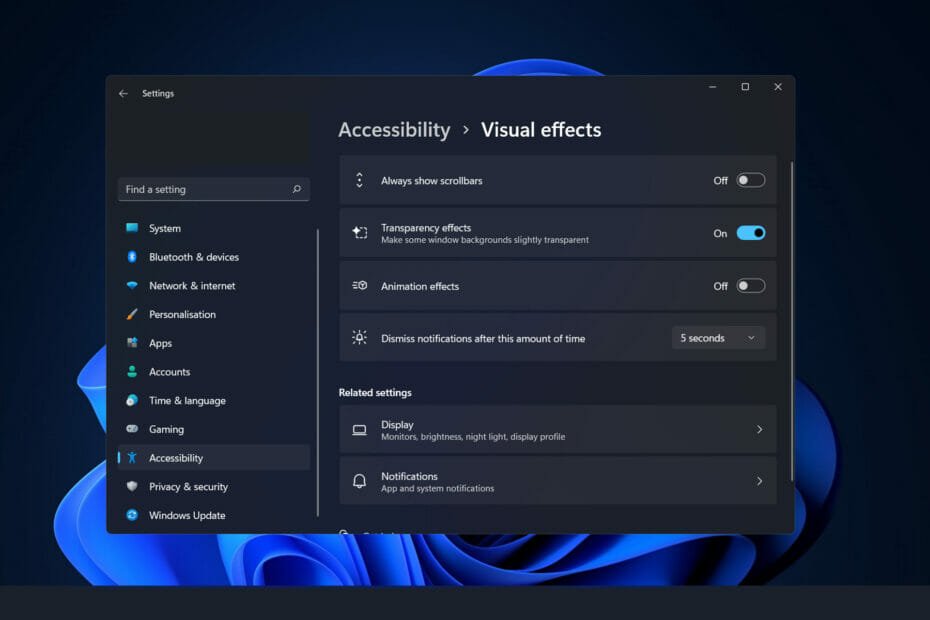
If disabling all visual effects seems too extreme, you can also disable transparency effects. Here’s how:
- Go to Settings and then to Personalization.
- Click on Colors.
- Toggle off the Transparency effects option.
You can check our detailed Guide on disabling visual effects in Windows 11.
Turn off notifications for programs.
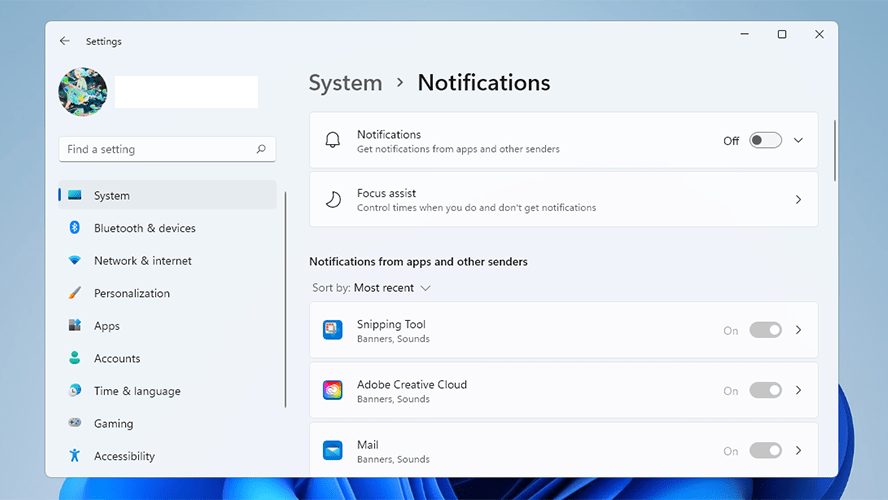
Notifications in Windows 11 can use up your computer’s resources, slowing down performance. This happens because many program alerts pop up unnecessarily after updating to Windows 11. So, it might be a good idea to turn them off.
Luckily, disabling notifications for programs in Windows 11 is easy. Just follow these steps:
- Go to the Settings in Windows 11.
- Then, click on the System option from the list on the left side.
- Next, select Notifications.
- In this menu, you’ll find a switch you can turn off to disable notifications.
Disable background programs
They often run in the background on your computer to get program notifications. This can include email apps, messaging apps, and more. But having too many of these running can slow down your computer.
If programs run in the background that you don’t need or use, you can turn them off. Here’s how:
- Go to Settings in Windows.
- Click on the “Apps” section, then select “Installed apps.”
- Scroll through the list of apps until you find the one you want to stop from running in the background.
- Click on the three dots (…) on the app card, then choose “Advanced Options.”
- Look for the “Background app permissions” section and change it to “Never.”
Now, that program won’t run in the background anymore.
Install Windows updates through Windows Update.
Keeping Windows 11 and your programs updated is essential. It’s not just about getting new features but also about keeping your computer safe from cyber threats. Updates often fix bugs and make your computer run smoothly.
To ensure you’re up to date, go to Settings in Windows, then click “Windows Update.” From there, click “Search for updates” and install any updates.
By doing this regularly, you’ll make sure your computer stays secure and works well.


